Super quick and easy. And, I am so sorry for super short post today. My anxiety been acting up and I just have a hard time focusing. I am glad that crafting brings some moment of calmness, but boy it’s been hard. Till next time. Cheers….
Hi friends. Vera here. I know it’s fall, but hey flower is for all season, right? Especially when you get to play with the new Climbing Carnations Layering Stencils from The Ton. These stencils brings you rich texture, depth and elegance to your card-making. And, of course give you plenty of creative freedom to personalize them to match your creative style and mood.
To start, I used post-it-note tape to mask the edge of the card. Then ink blended Soft Ash to create the soft frame. Then for the flower I used Periwinkle, Parisian Blue, Azurite and Olive. Die cut with Coordinating Climbing Carnation dies (coming soon). Adhere flower to card base and pop the top part with foam adhesive. For the sentiment I used one of the sentiment from Easy Expression set. I used this set often cause I can get a bunch of sentiments done and ready for use. Finish with some enamel drops.
It’s a quick and easy card that I hope inspire you to get crafty. Honestly, crafting is my stress therapy. When the world out there get too much, playing with stamps and colors is my way to calm down and relax. Wishing you all a blessed and happy weekend! Till next time.
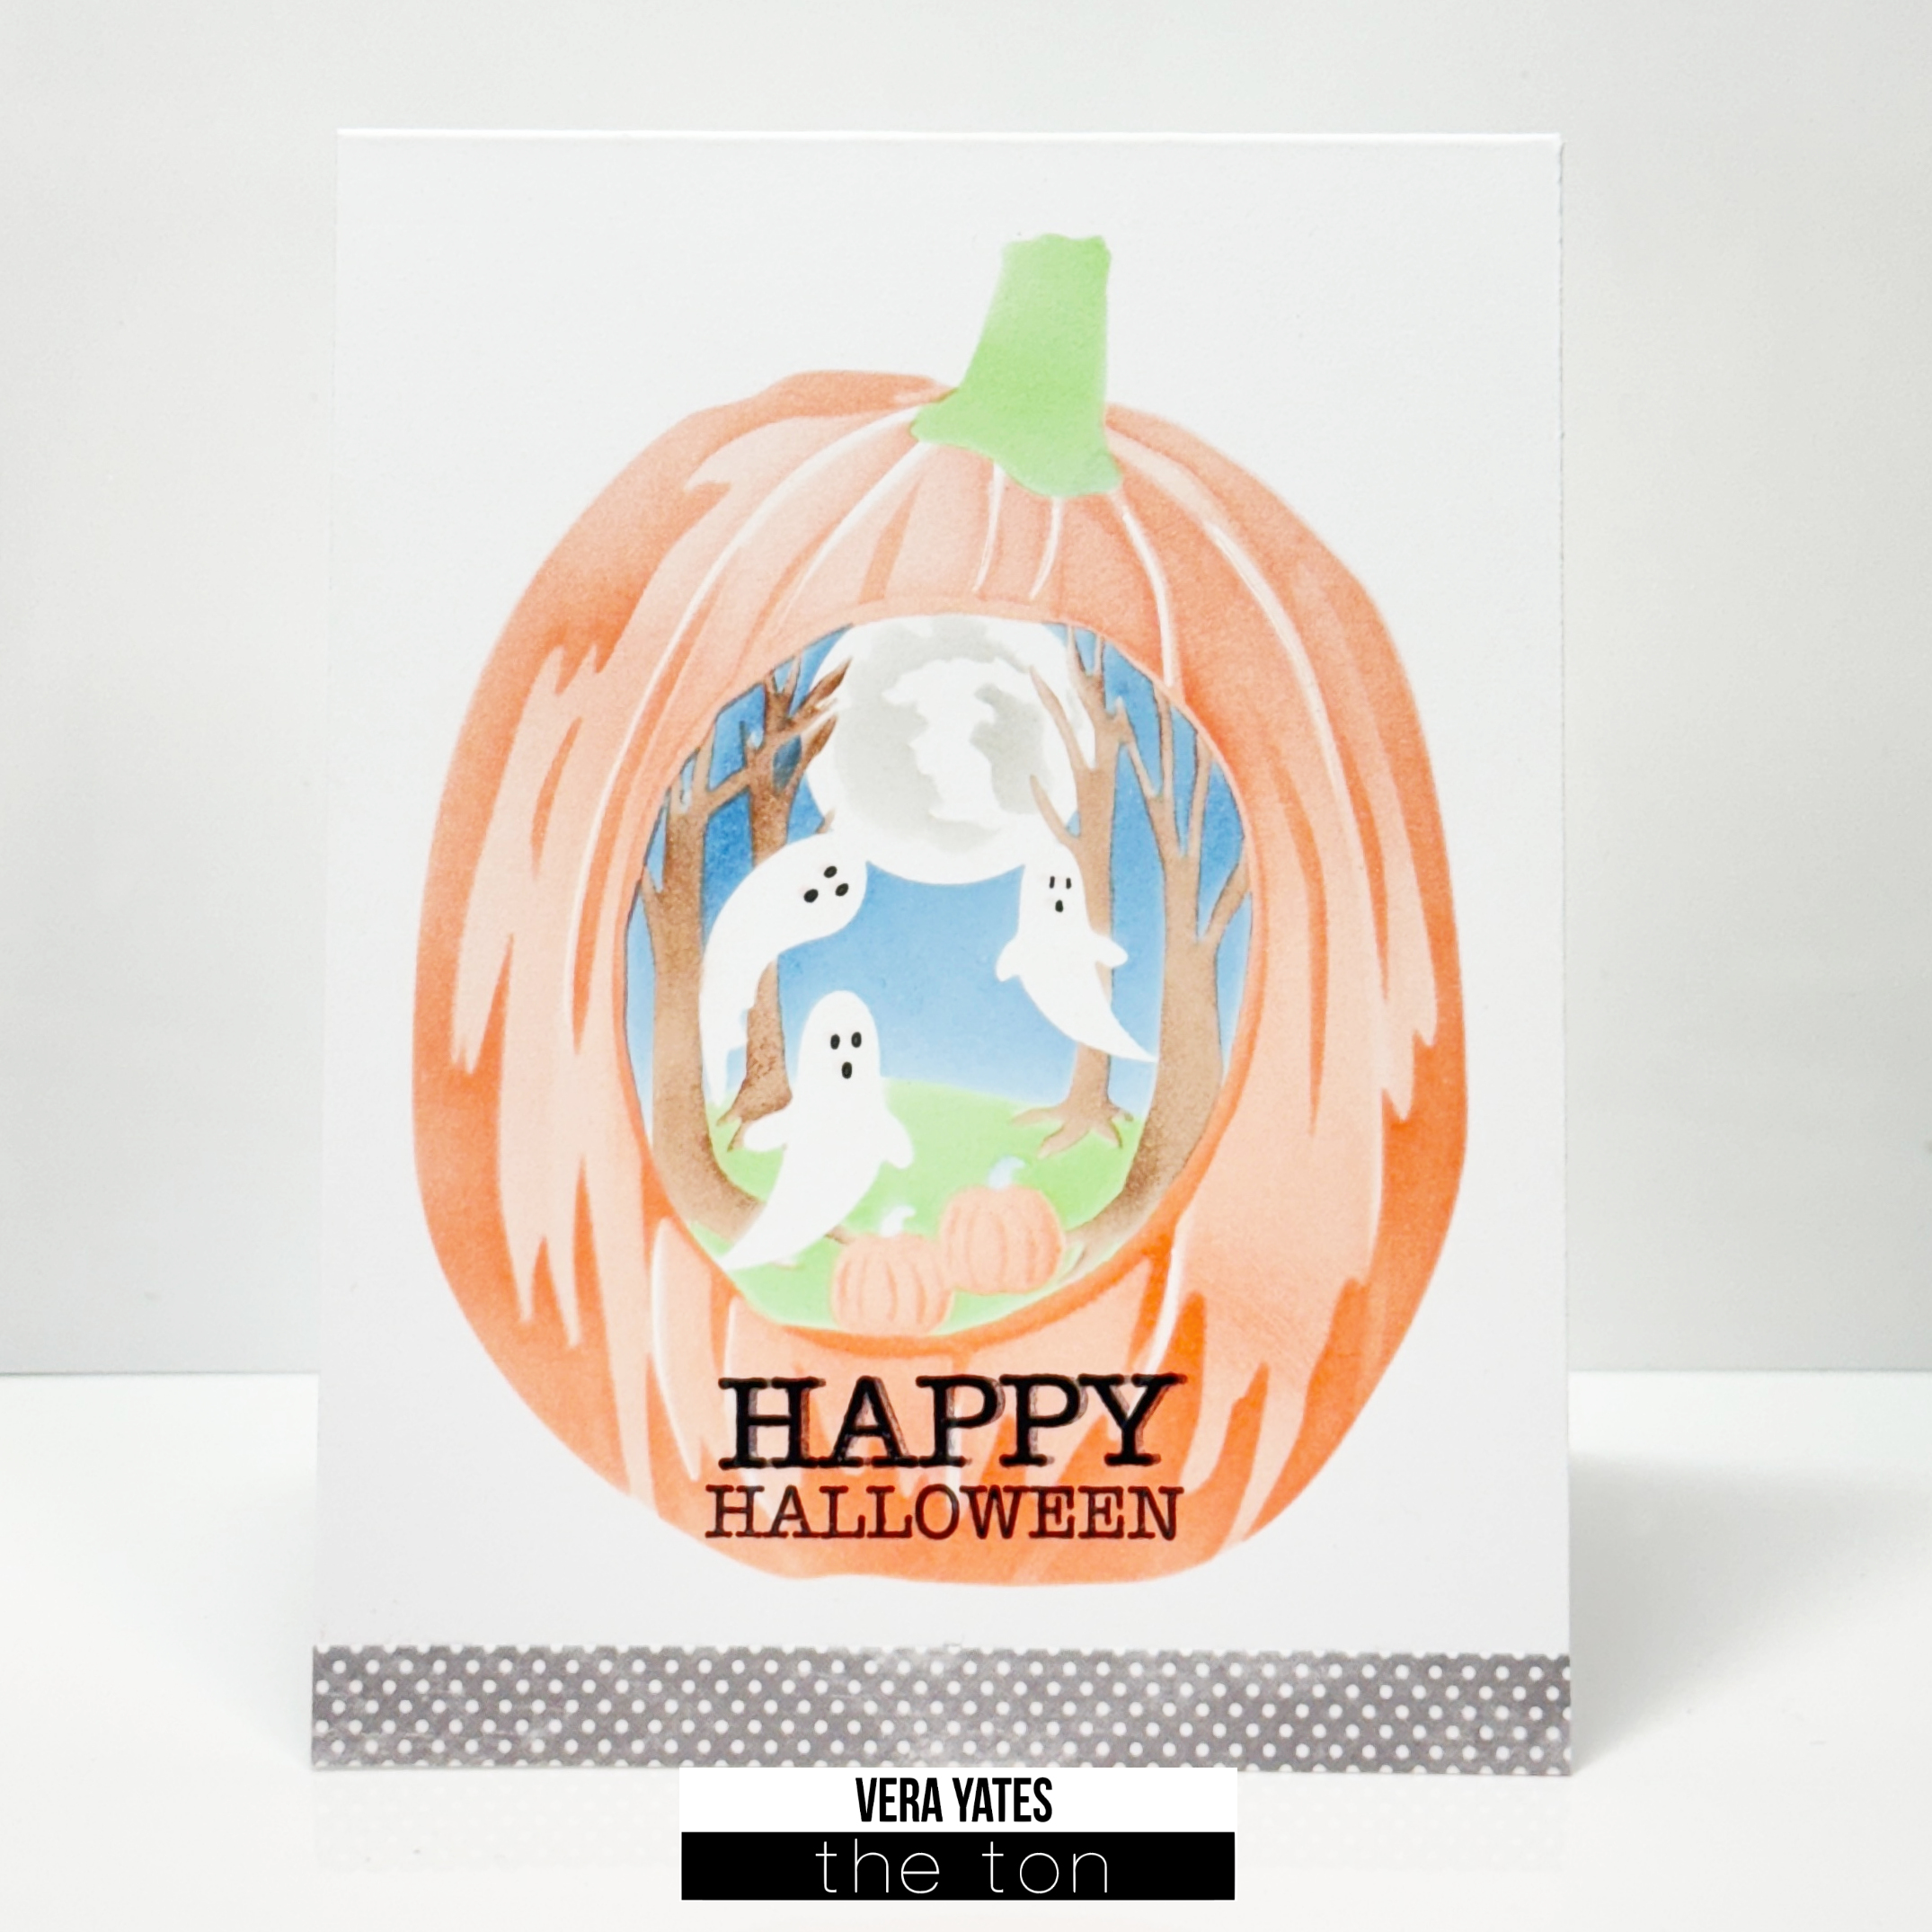
Hi friends. Happy Halloween! Vera here as we closed off the month of October. Since it’s Halloween it’s only appropriate that I share a couple Halloween cards. For my first card, I am showcasing Ghosts & Bow Layering Stencil set. I mean, come on… how adorable are these ghosts?
I used some pot-it-notes to help block some of the ghosts while ink blending the background. For the gradient background I used Peach Puff, Lime Twist and Deep Sapphire. For the shadow on the ghost I used Crystal Pewter. For the bows I used Lavender, Deep Blush, Peach Puff and Rouge. Sentiment from Postage: Fall Sentiment set. Finish by splattering some white inks and adding some white dots to the ghost eyes.
I just thought this set is brilliant. I never seen any pumpkin set like this and I love it. For the pumpkin I used Peach Puff, Peach Blossom and Vineyard for the stem and the ground inside the pumpkin. For the tree I used the new Trunk ink. It’s quick and easy.
I hope you have a great Halloween and stay safe. Till next time.
Hi there crafty friends. Vera here. Sorry, I missed posting for this month. I was dealing with some health scare. During a mammogram the doctor found a small mass. First biopsy result was inconclusive and it was recommended for me to have the mass removed and sent to pathologist. Thankfully it was confirmed that it was just an abnormal growth and not cancerous. My scar still healing, but I am just grateful and relief that I still have my health. Now that’s over, I am back to crafting and have a couple cards to share.
For the card I used the new inks, Peach Puff, Grapefruit, Lime Twist and Melon. It might not look like it, but the lightest and 2nd lightest layer was using Peach Puff. Just vary the pressure and amount of ink. Once done, I die cut it using Coordinated Carnation Duo dies (the dies will be available in store soon). I die cut blank cardstock 2 more times to and adhere them together to create thickness. For the background, I used my favorite background Quilted A2 Coverplate. Adhere to card base then adhere the flower. Finish with sentiment from Easy Expressions set.
There a couple Carnation beauty that I hope inspire you to get crafty. I have to say, it feels good to craft again. So much easier to craft when your mind is clear. 🙂 Friends, I hope you enjoy today’s cards . Till next time.
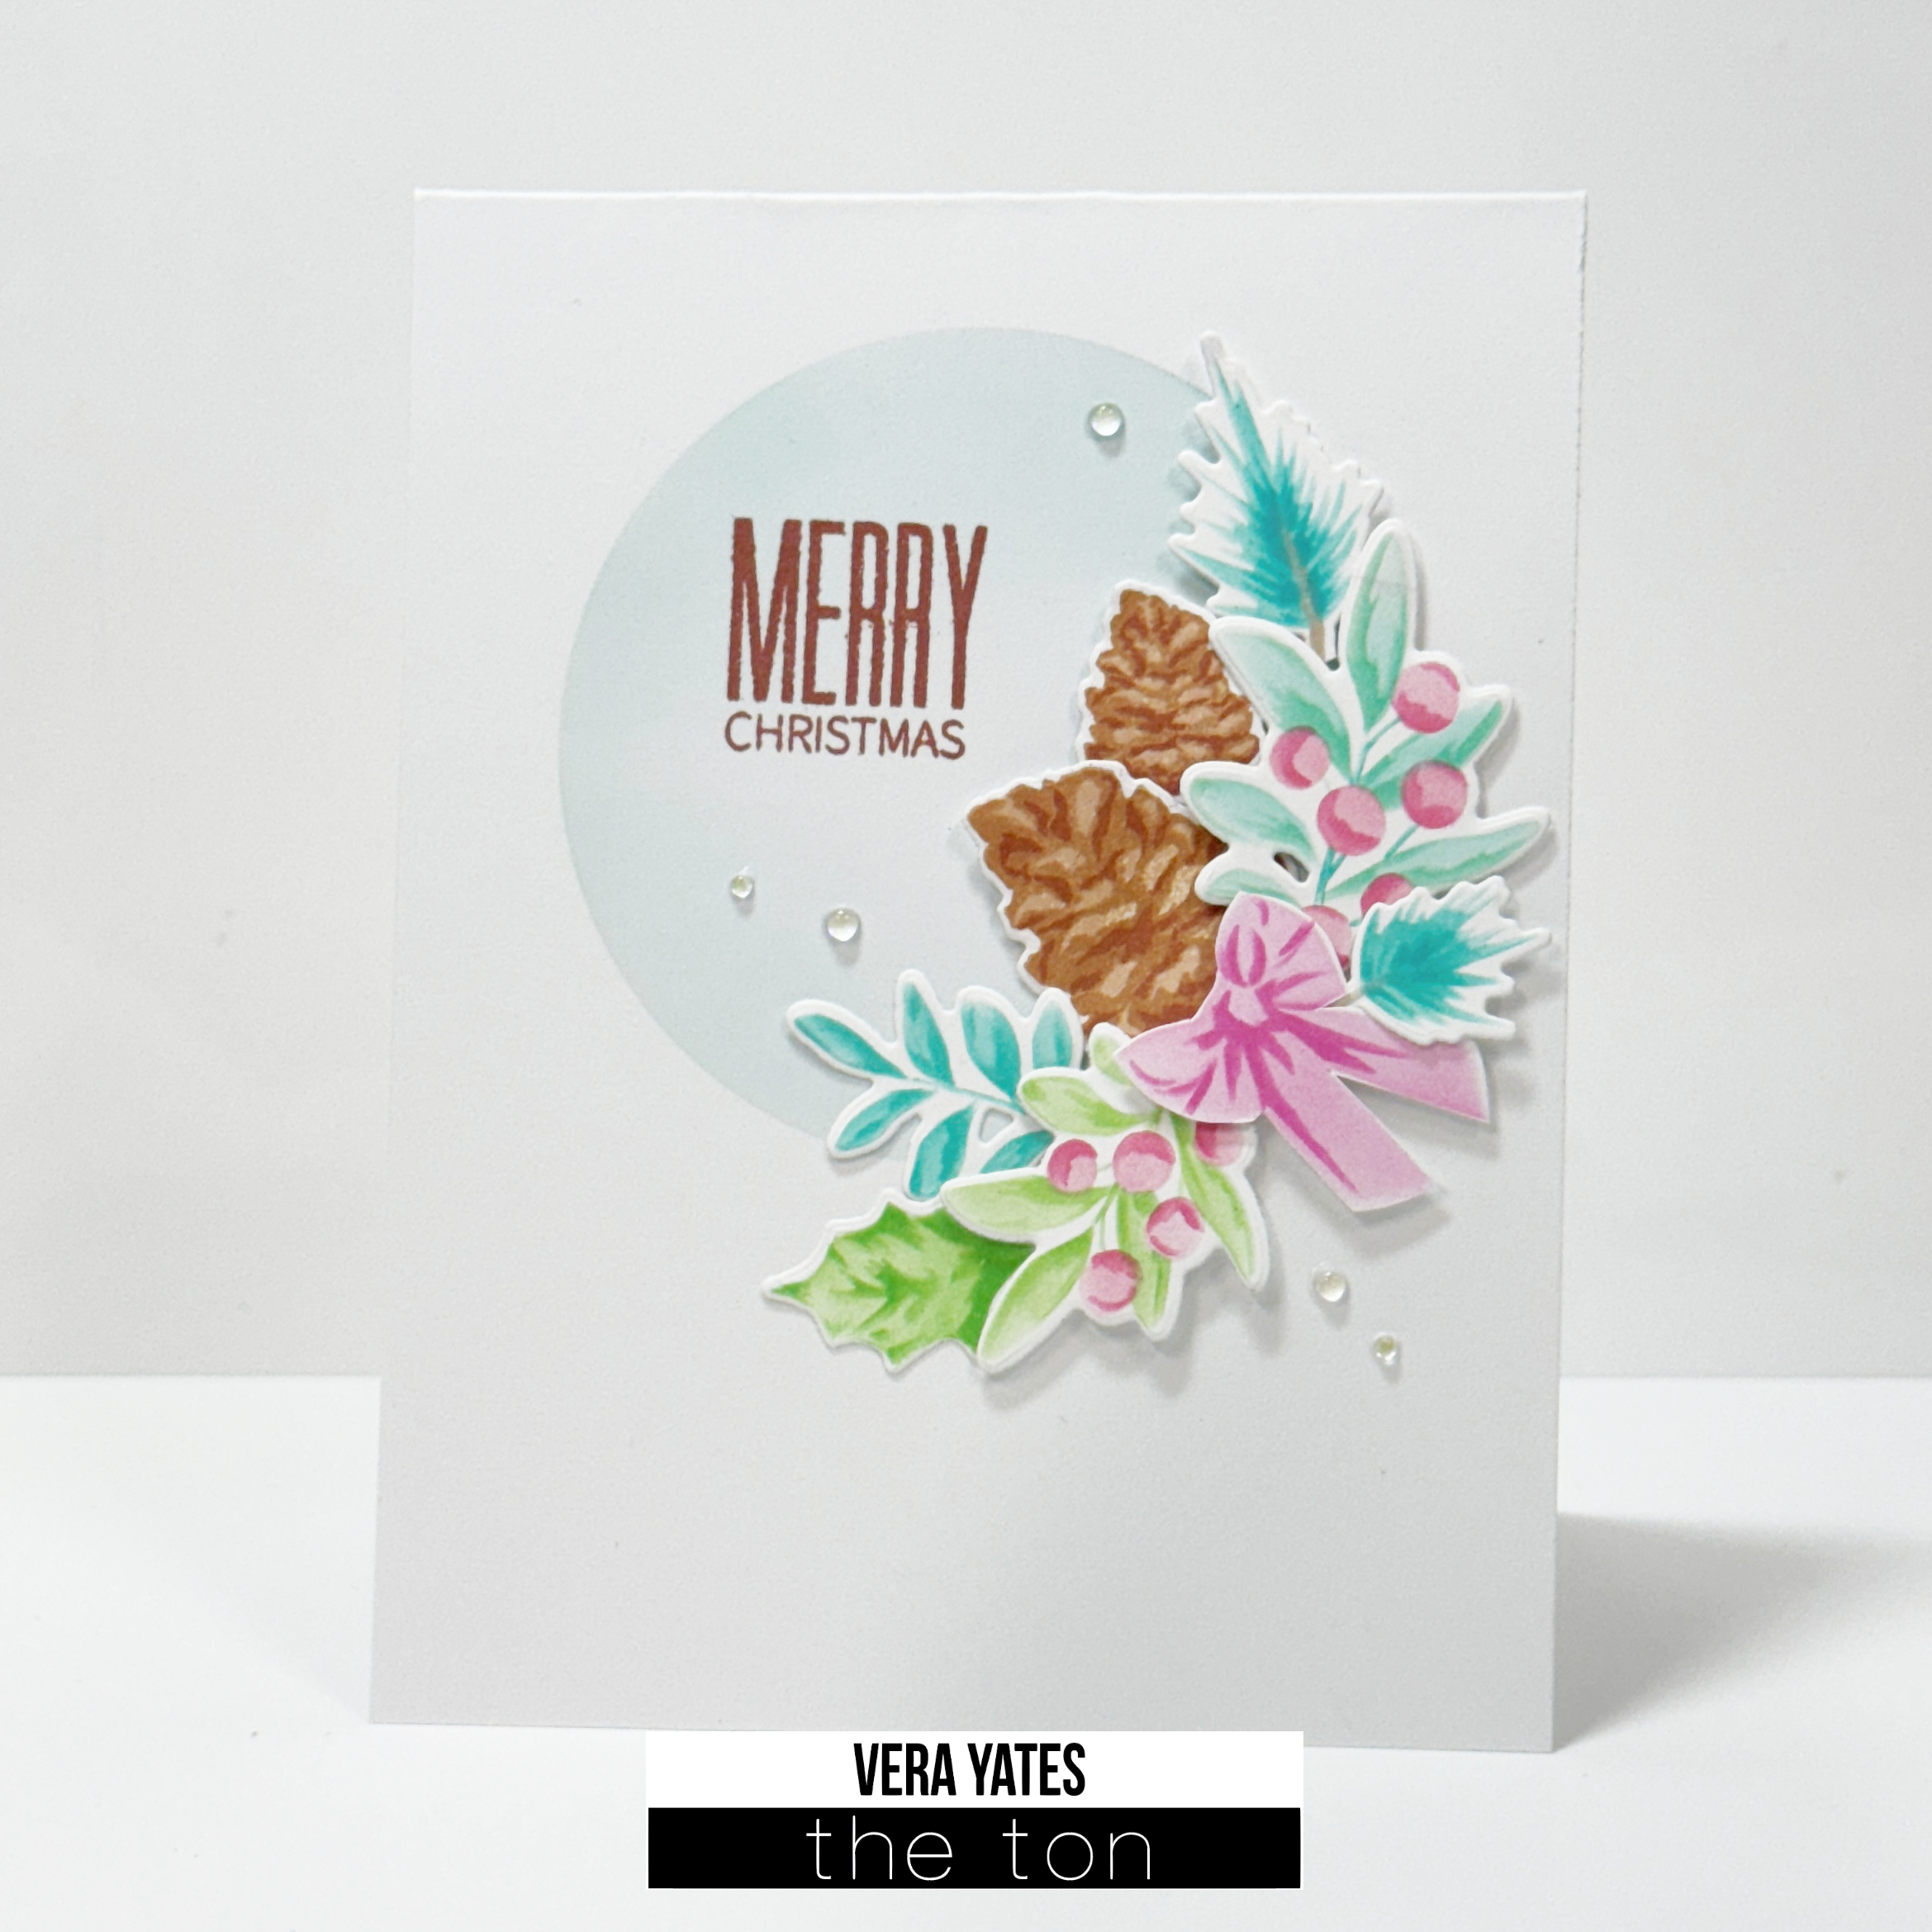
Hi friends. Vera here. Today I am sharing a trio of holiday cards. I hope they inspires you to start working on your Christmas card stash. For my card, am featuring a few layering stencils. I used Berry Bits Layering Stencil, Winter Foliage Layering Stencil, Christmas Bows Layering Stencil and Pine Cones stamp set. Originally, I plan on doing 1 card. However, once I die cut all the pieces I realized that I can actually completed several cards. So, of course I went to town with it and made 3 cards.
Anyway, once I am done with the stenciling, I die cut them with the coordinating dies of each set. Put aside all the pieces. Using one of the circle from Circle Nested Dies, I die cut a circle on a piece of scrap paper and use this as a stencil to create the circle focal point of the card. Arrange the pieces around the circle. Adhere with glue and some with foam adhesive to create depth. Finish with some enamel drops.
I honestly very happy with the way these cards turned out. Clean and simple is my favorite type of cards. And, when I get to mix several sets in one card, that make me even happier.
Friends, I hope you enjoy today’s cards. With everything that’s going on in the world right now, my wish for you is that you find or see something good today that makes your heart smile. Till next time!
Hi there crafty friends. Vera here. Today I want to showcase an older set that I just loved, called Oak Leaf Print.
The style of this set reminds me of Scandinavian design style that I adore. Of course, as someone who loves colors, instead of just two tone color like blue and white or red and white, I have to go with colorful. For the card below, I used: Caribbean Turquoise, Honey Dew, Lemon Drop and Beach Blondie for the squirrels. Finished with sentiment from the set and some mix size Crystal Clear rhinestones. To help blend the color, as I inked up the set, I dab the edge with a dabber to soften/blur the line so it didn’t end up with hard line between colors.
I hope you enjoy today’s cards and I hope in my little way I also inspire you to take a look at your older sets and give them some love. Till next time. Cheers….
Hello friends. Vera here. Welcome to September. Time sure fly by. Today, I am featuring Cosmos Border Layering Stencil set. I just love, love this set.
Instead of white cardstock, I decided to use light blue cardstock for the panel. Then, I ink blended Bright Emerald, Hot Tourmaline, Meadow and Parisian Blue. For the center of the flower I decided to use Copic markers.
Trim the panel and adhere to card base. Finish by stamping sentiment from Fancy Script set with Smoky Quartz ink. I love the combo of blue/teal and green. I really love the way this card turned out.
Friends, that’s all for today. I hope you enjoy today’s inspiration. And, wherever you are I hope something good that brighten your day happened to you today. Till next time.
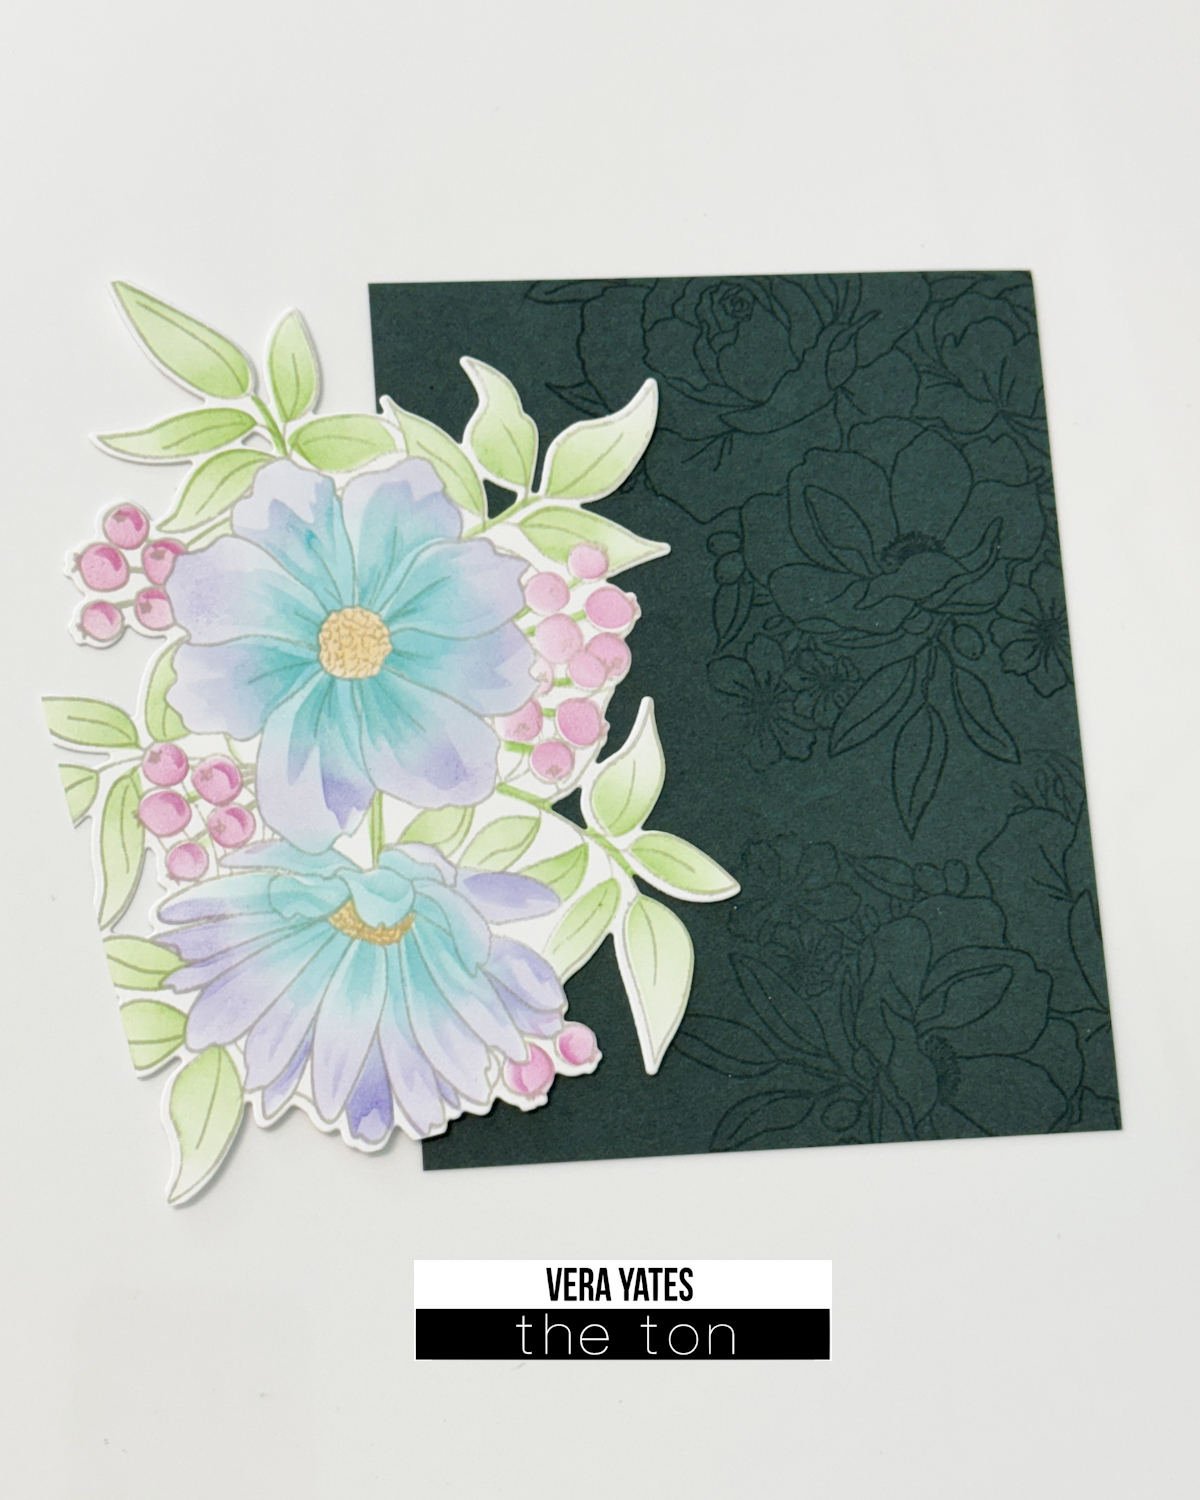
Hi friends. Vera here. Today I have a couple cards to share. Am showcasing one of my favorite set, Heartfelt Blossoms. Let’s get on with it, shall we? Here’s the first card.
I play with where I want to lay the colored piece and trim any extra part. Adhere the piece to the card base with foam adhesive. Finished with sentiment from Noteworthy Blooms.
I love creating with this technique and made a second card, except this one I did a vertical card and change the color of the card base.
I guess because I haven’t been crafting as much, when I do, I tend to do a couple cards. To be honest, part of it is so I don’t have to pull and clean the sets twice. Hah!! Can’t really call it lazy since making 2 cards it’s not lazy. 😀 Well friends, I hope you enjoy today’s cards. Till next time!
When I don’t get to spend much time in my craft room, I love any sets that can help me create cards in short time. That’s why I love playing with stencil. The step by step is pretty self explanatory, so I won’t bore you with it. I made a couple cards using same set, same techniques, as I just needed to build up my card stash. I’ve been donating my cards, so replenishment is needed. 🙂 Both card postage panel was cut using Postage Party die.
For the card above, the inks I used are Grand Fuchsia, Violet Fringe, Lemon Drop and Meadow. It looked like I used more colors, but I really didn’t. The beauty of stencil, varied the amount of ink you picked up and varied the pressure and voila…. you get different color gradient from same ink. For the postage stamp I used Not A Bill set and sentiment from Wildflower Bits.
For the second card I used Violet Fringe, Lemon Drop and Spring Salad ink. 2 cards for less than an hour. I think that’s pretty darn good. I get to listen to my audio book and hang out with my pups at the same time. Hope you enjoy today’s cards and for next post, I have oldies but goody to share. Till next time, friends.
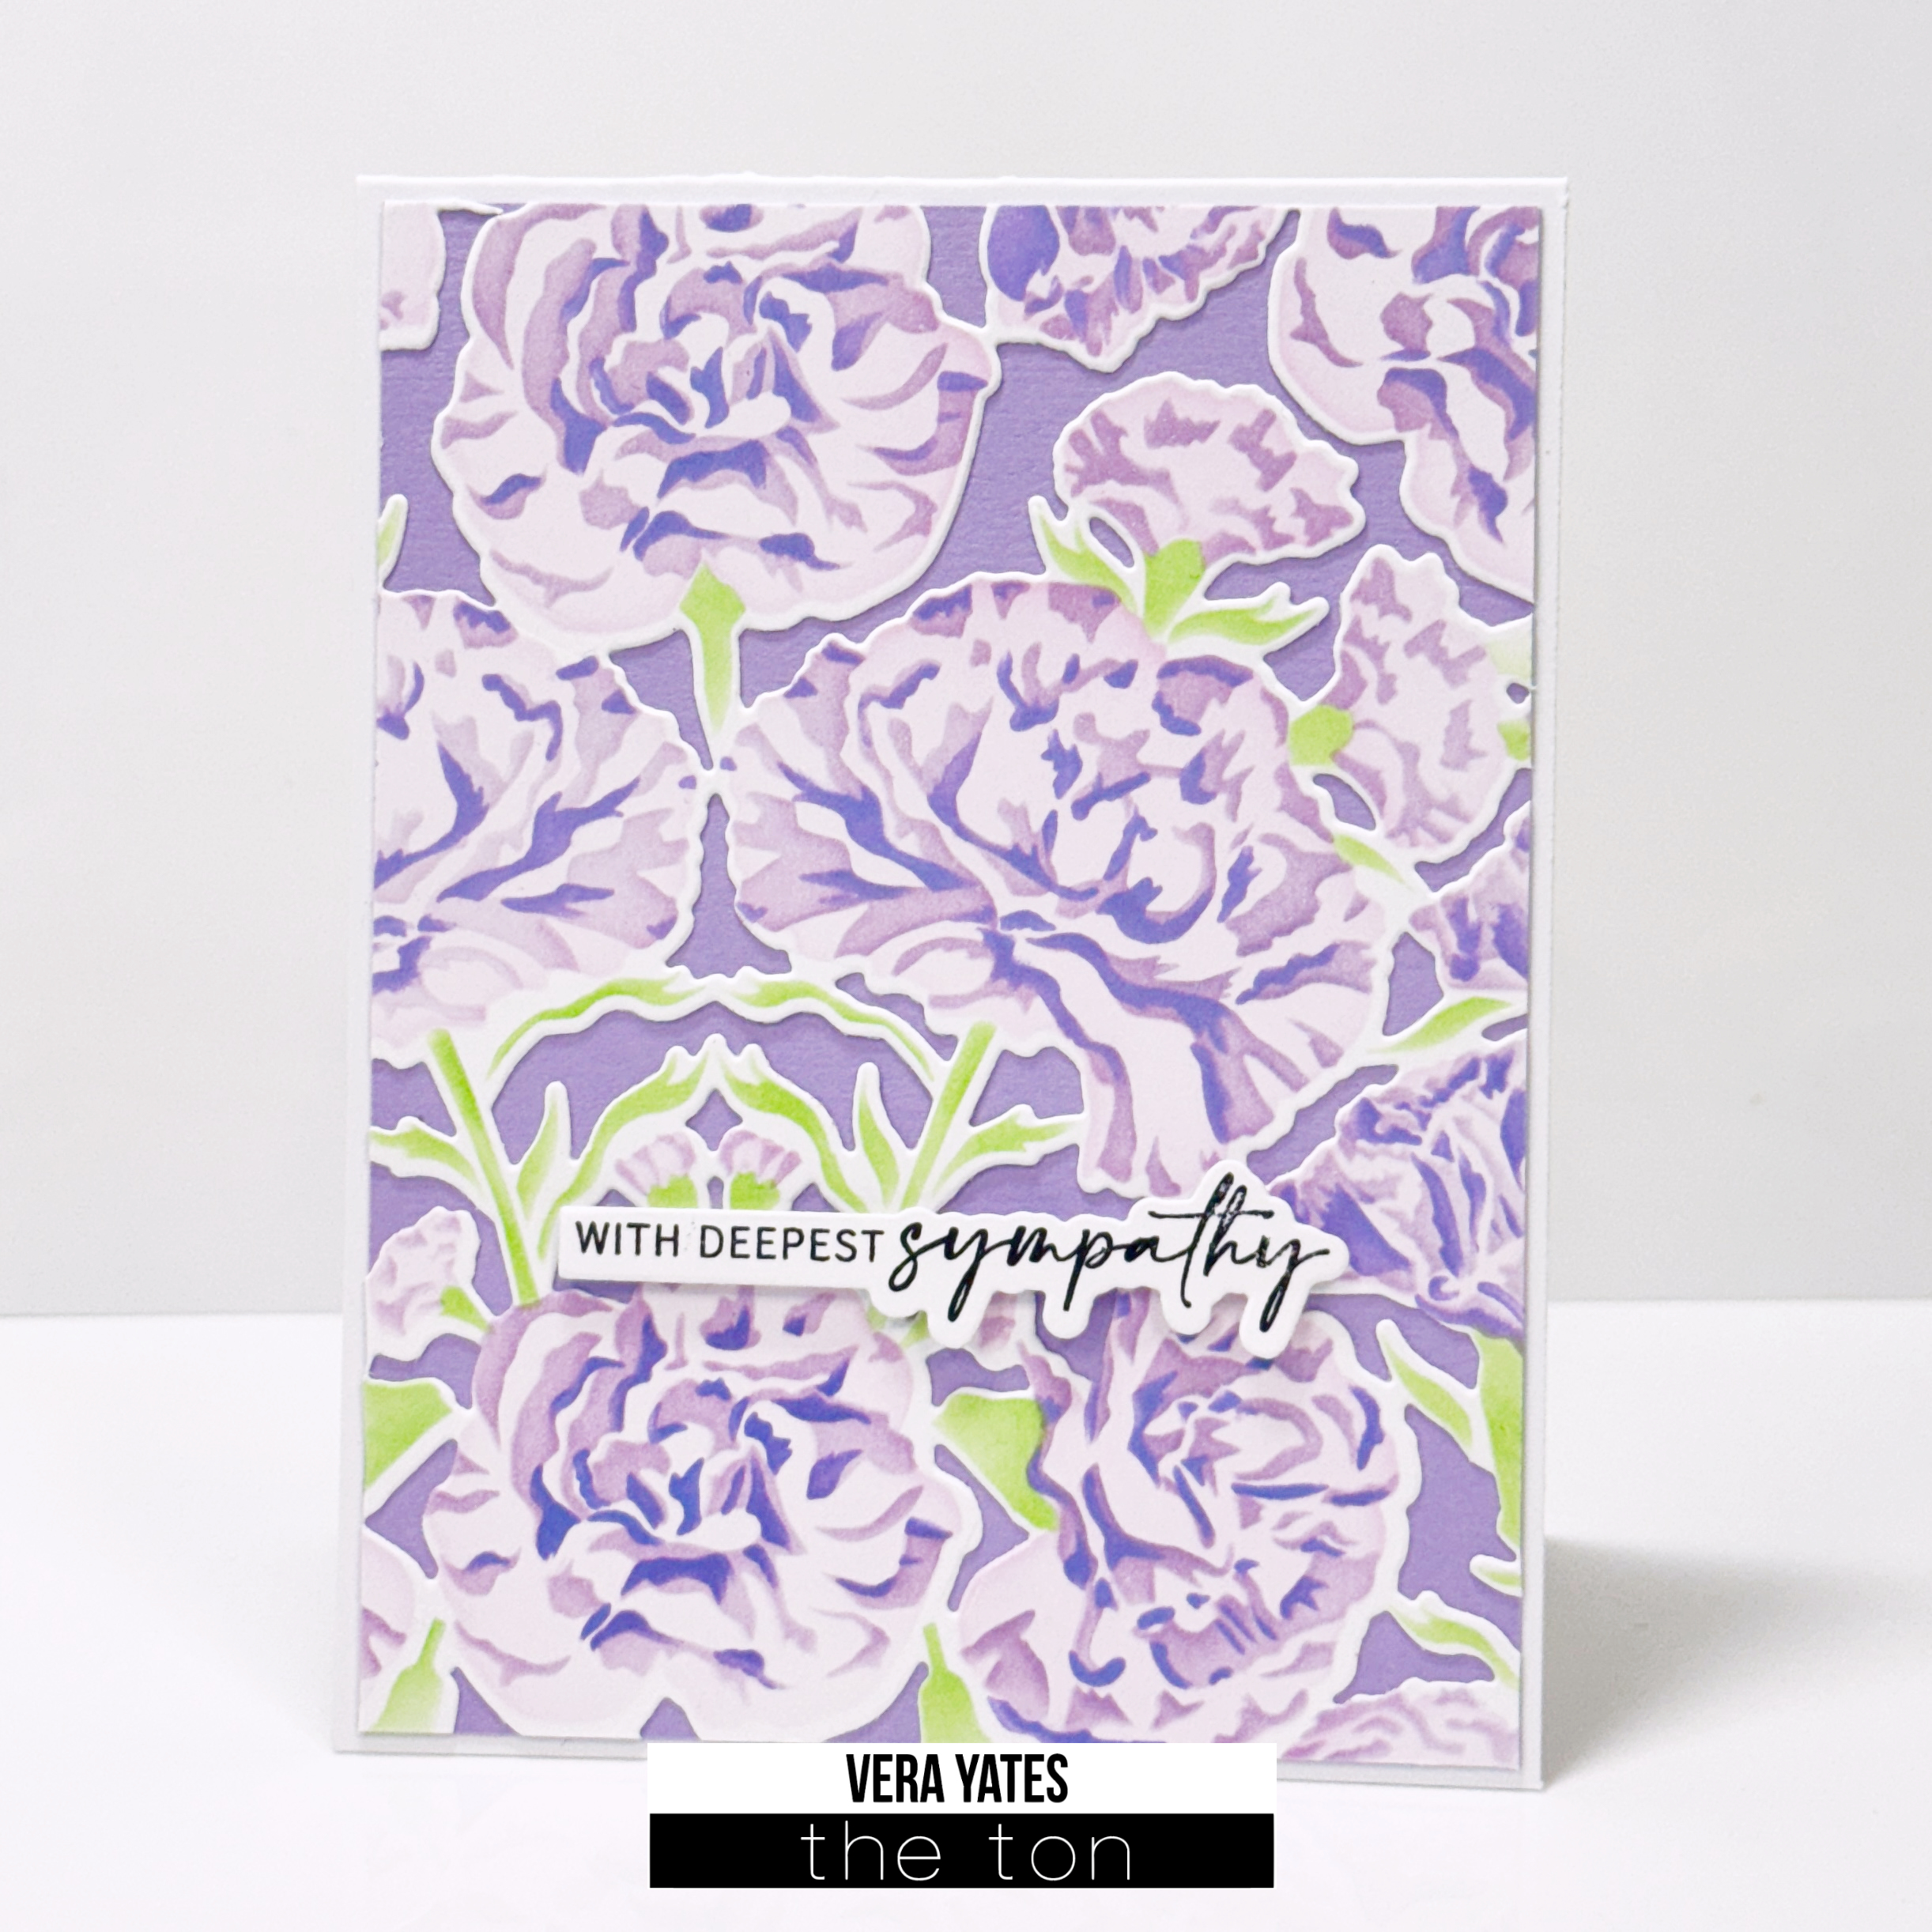
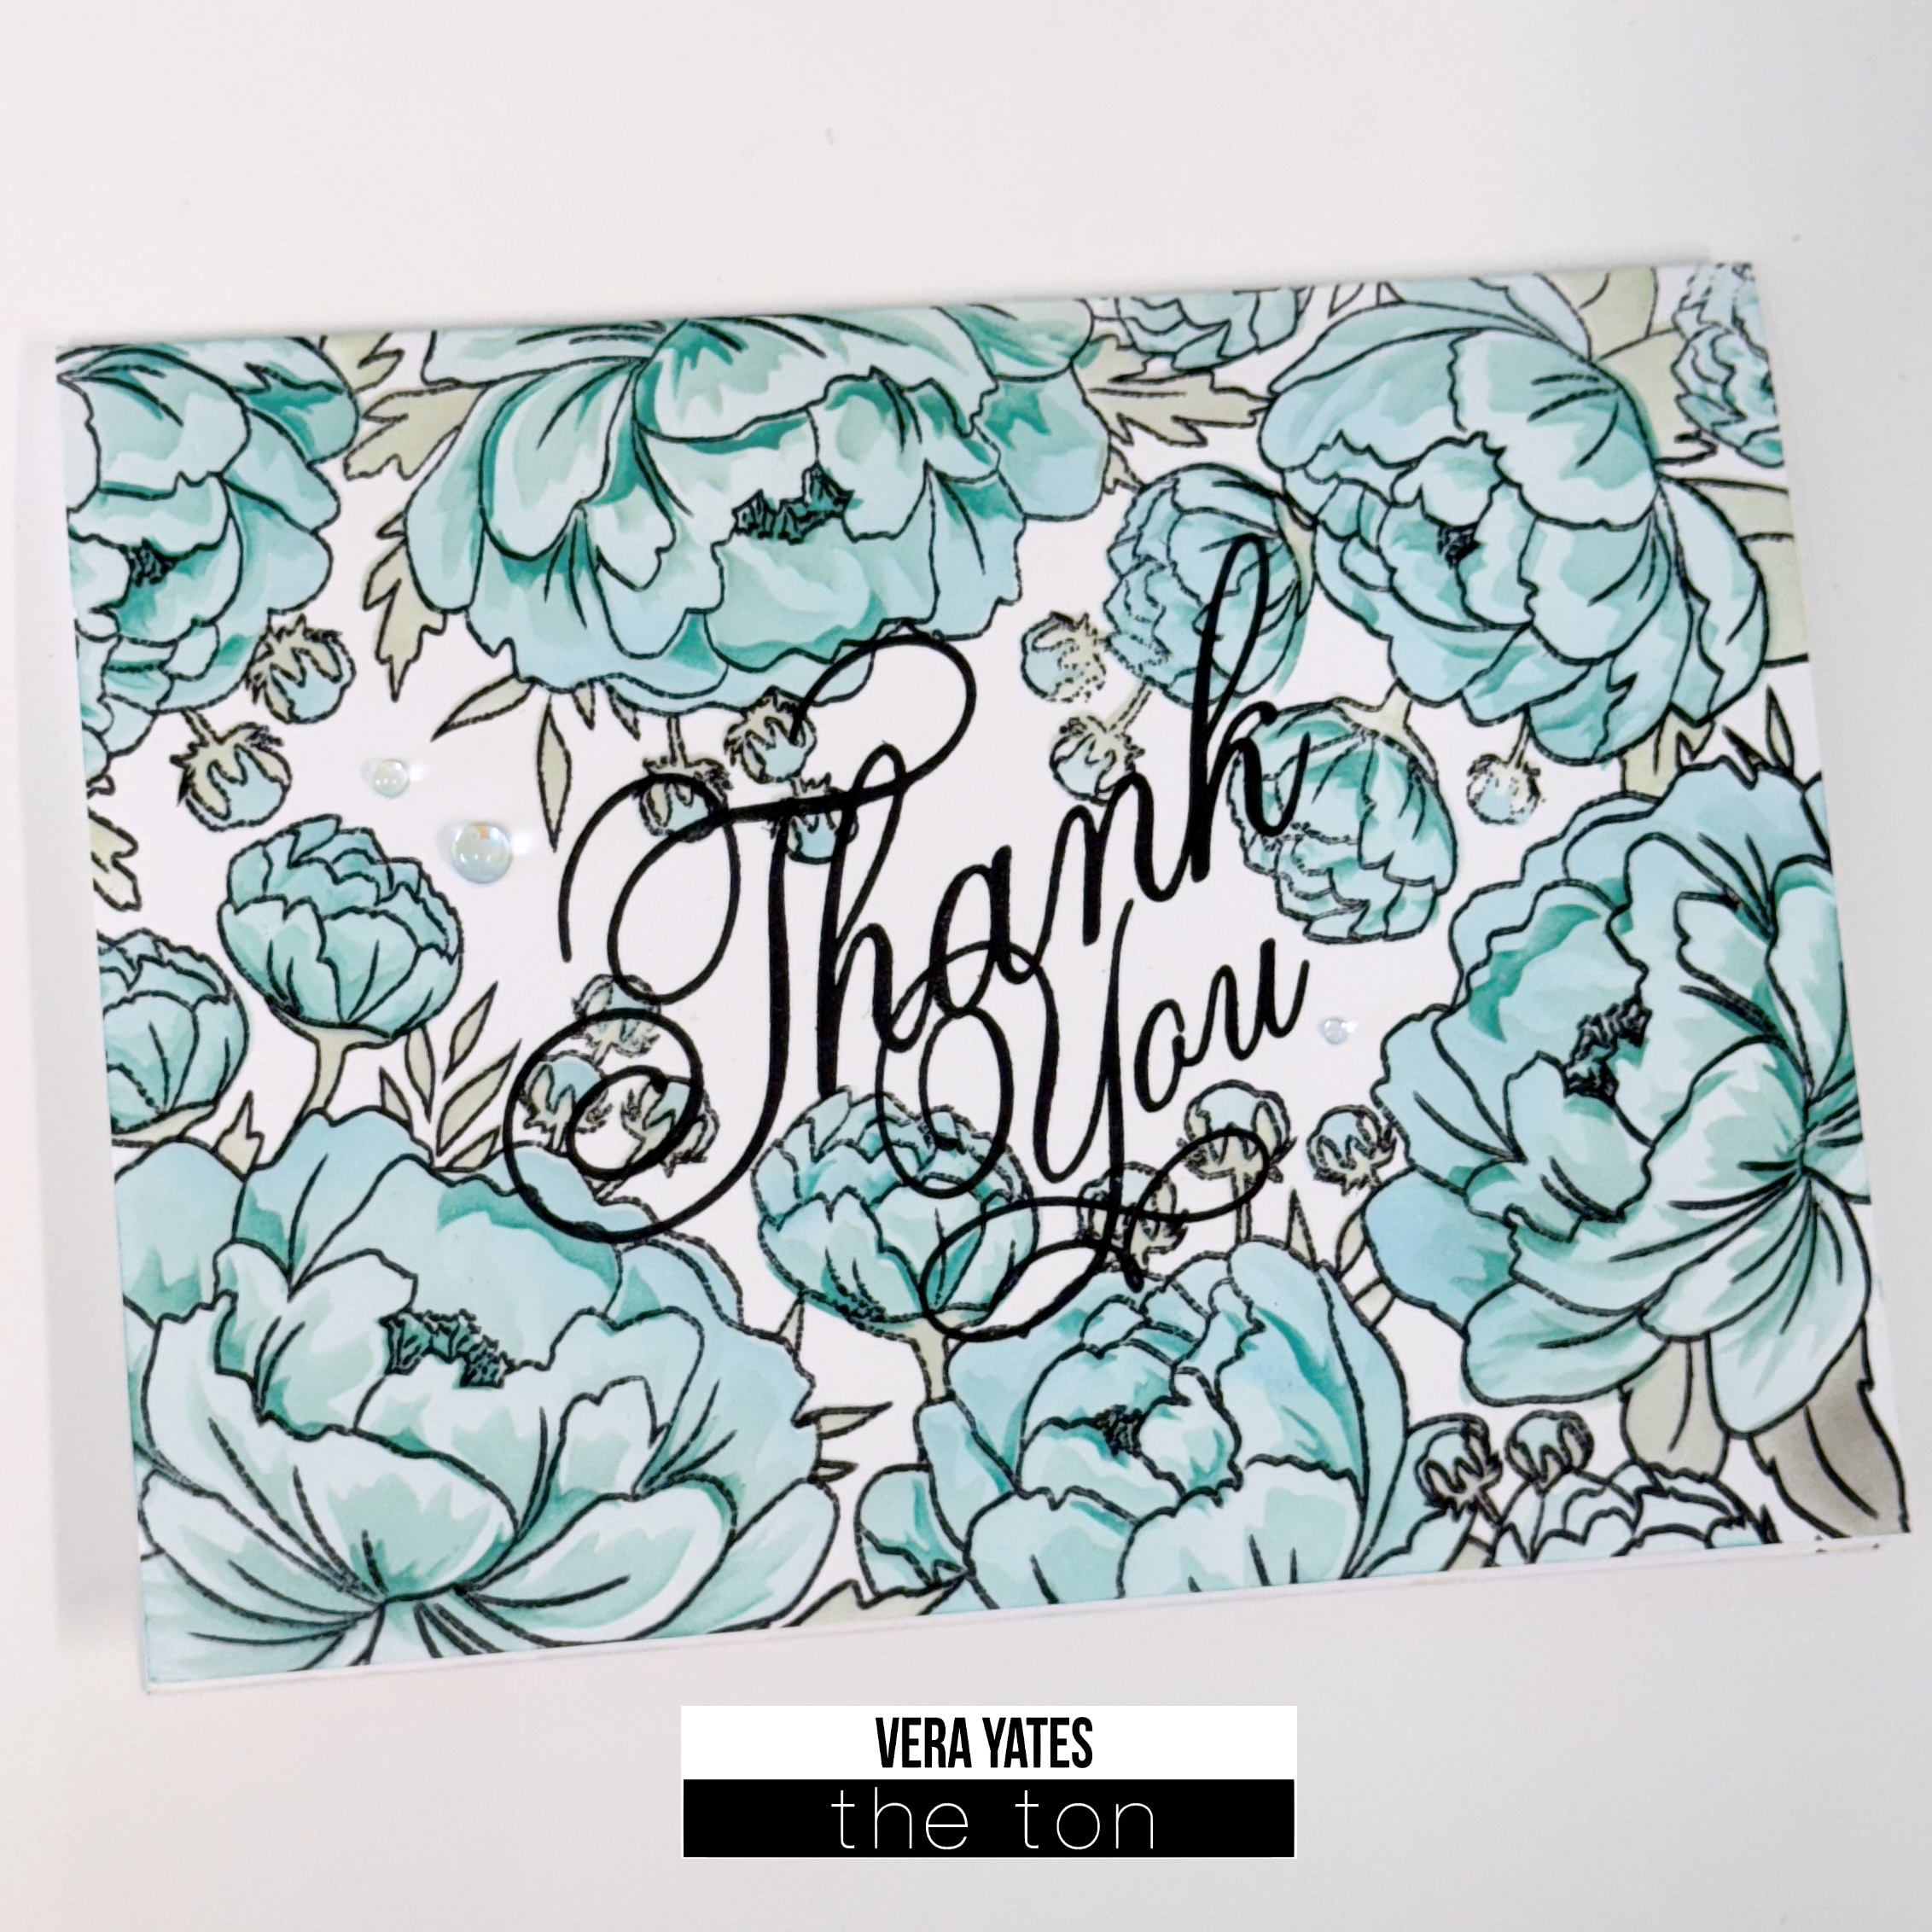
Hi there crafty friends. Vera here. Today, I want to showcase the gorgeous Peony Border Stamp & Peony Border Layering Stencil set. I love this sets that somehow I ended up with 4 cards. Was only planning to do 1 or at the most 2. But hey, when mojo cooperating, might as well take advantage of it, right?
For my 1st card above, I use the stencil set directly on the card base. I used Hot Tourmaline and Spring Salad. Yep, I only used 2 colors. Pressure and color layering helps make the different color value on the flowers. Finish with sentiment from Fancy Script set.
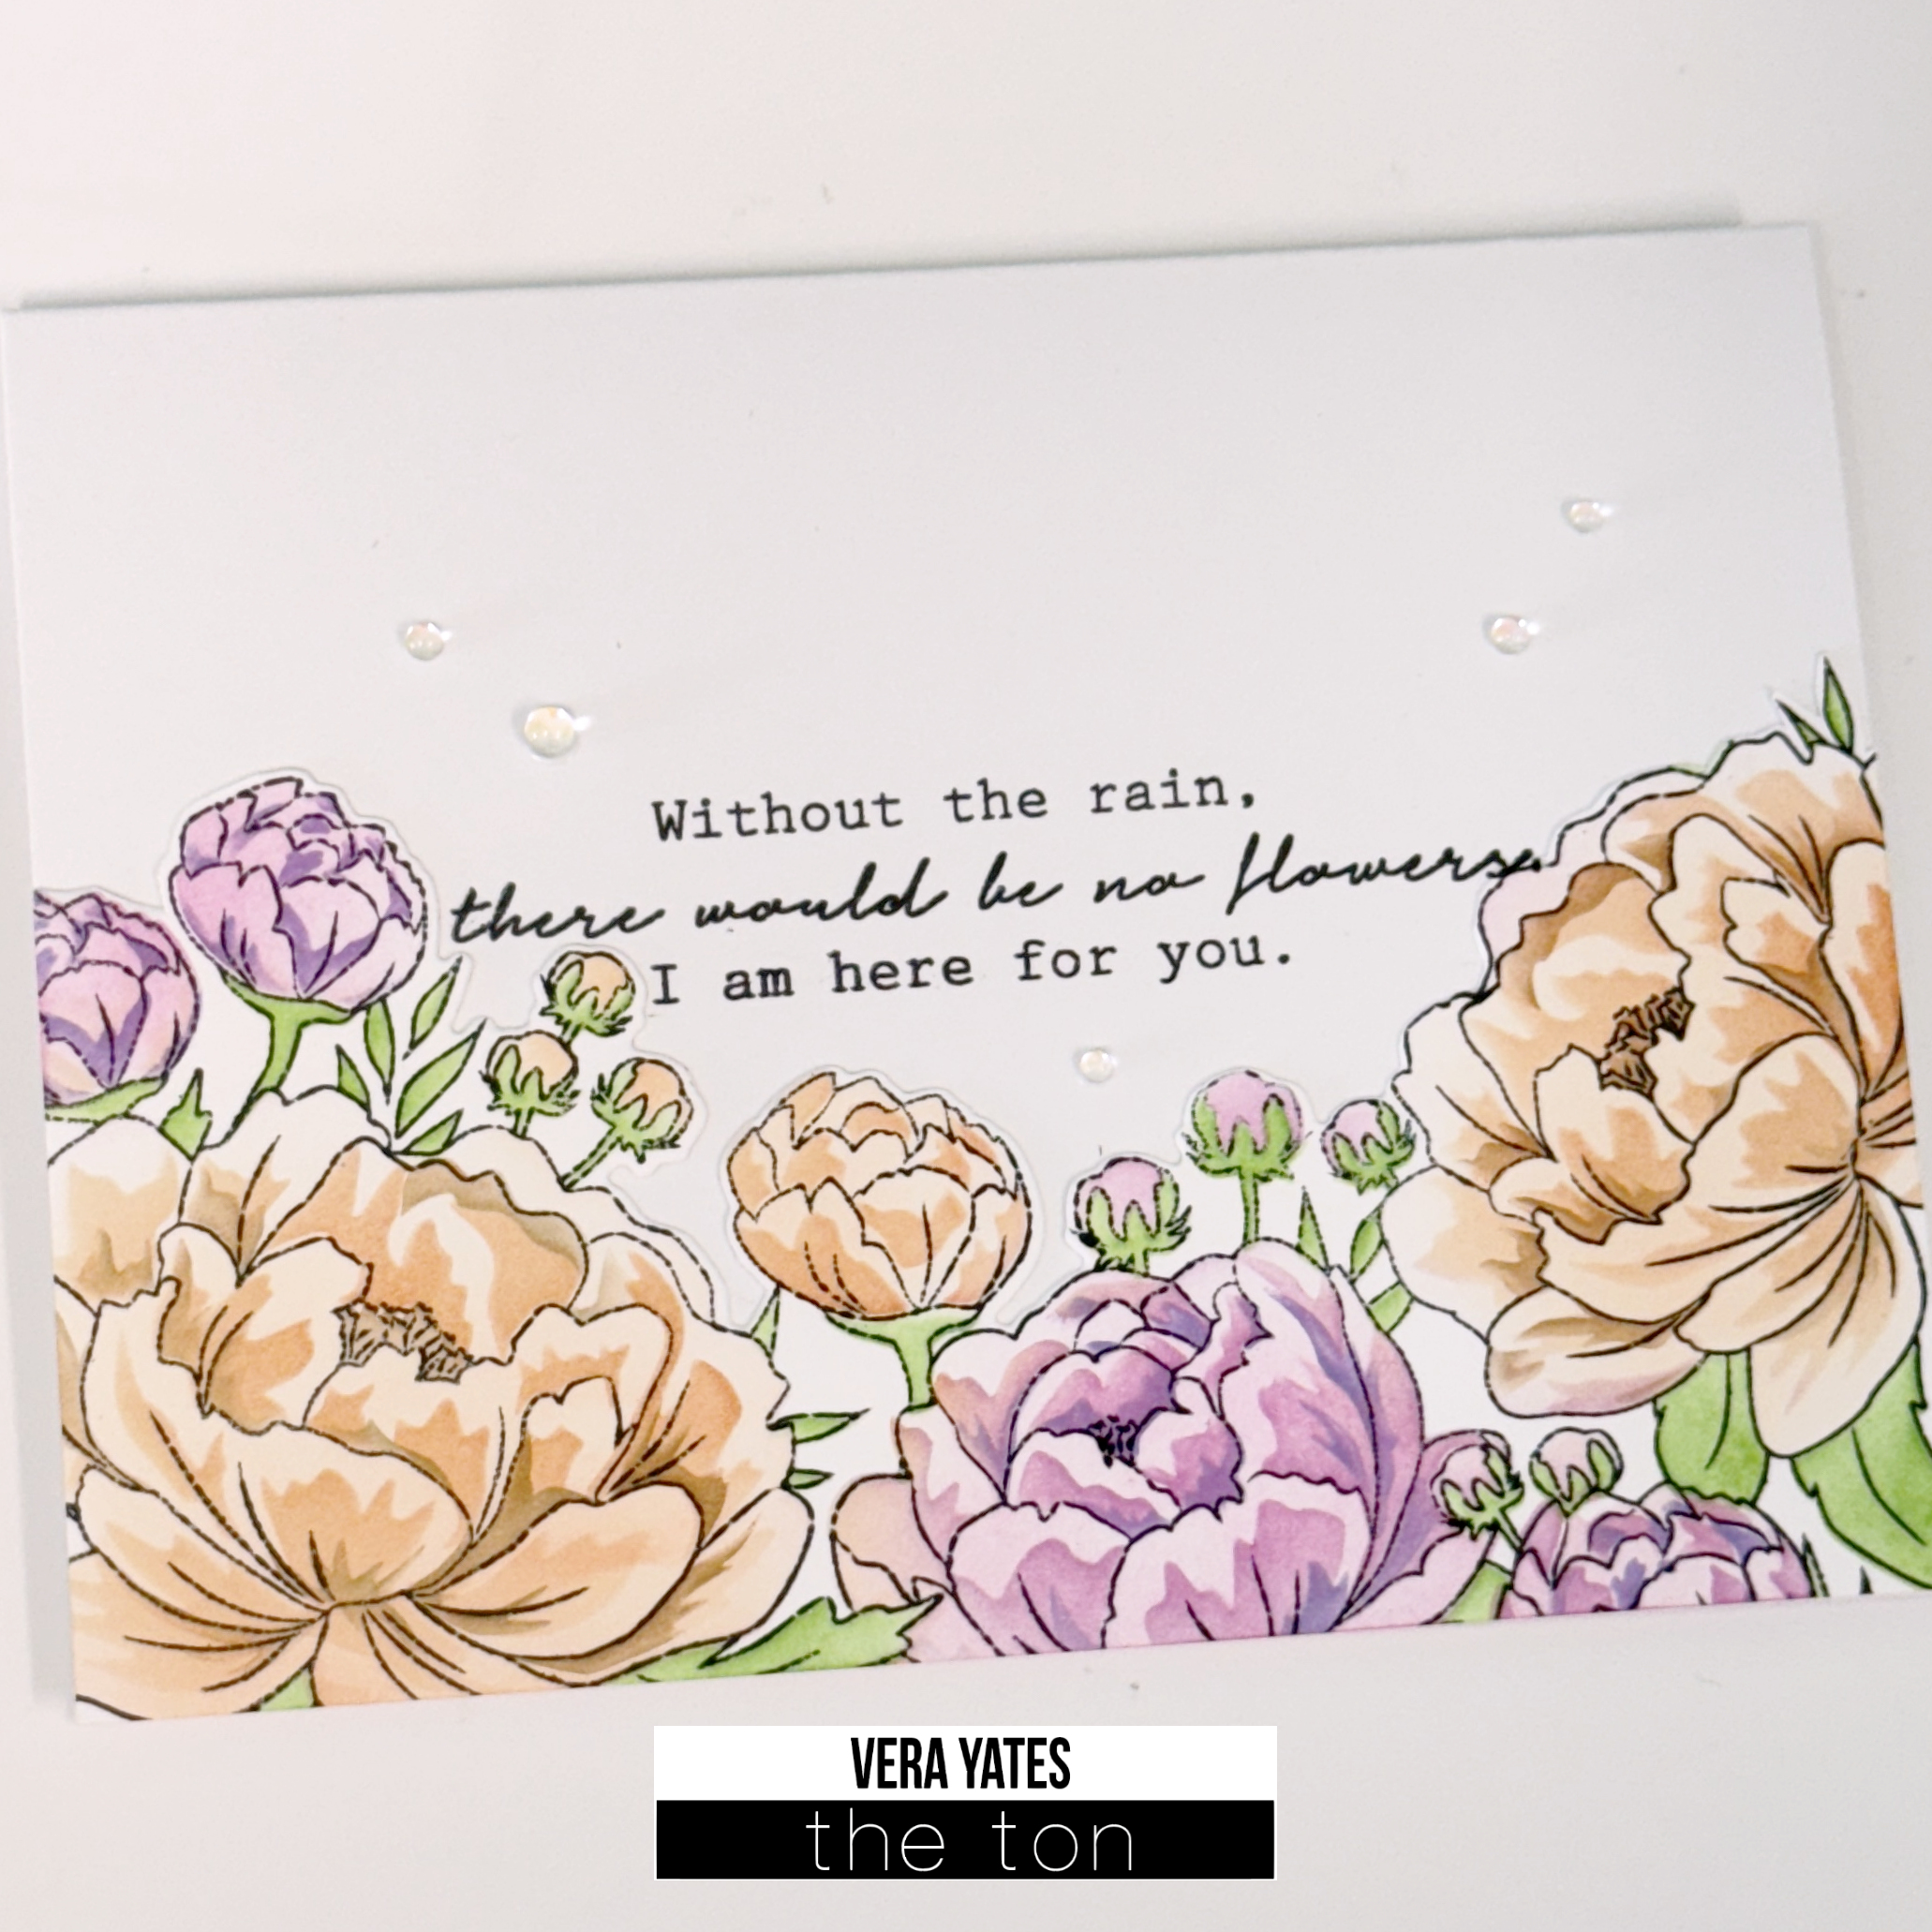
Using just the stencil gives a softer look, but you can step it up by using the coordinating Peony Border Stamp.
The result is a bit more intense. Here, for the leaves I decided to use Moonlight ink. For my next couple cards, I went with more colorful design.
I feel quite productive that I was able to finish 4 cards in 1 seating. The beauty of creating with stencils. Well friends, that’s all I have for today. I hope you enjoy the cards. Till next time. Cheers…