Floral Butterfly Cards

Hi friends. Happy Tuesday. Vera here. Today I have a couple of cards to share sharing another one of my all time favorite set from The Ton, the Transformation set.

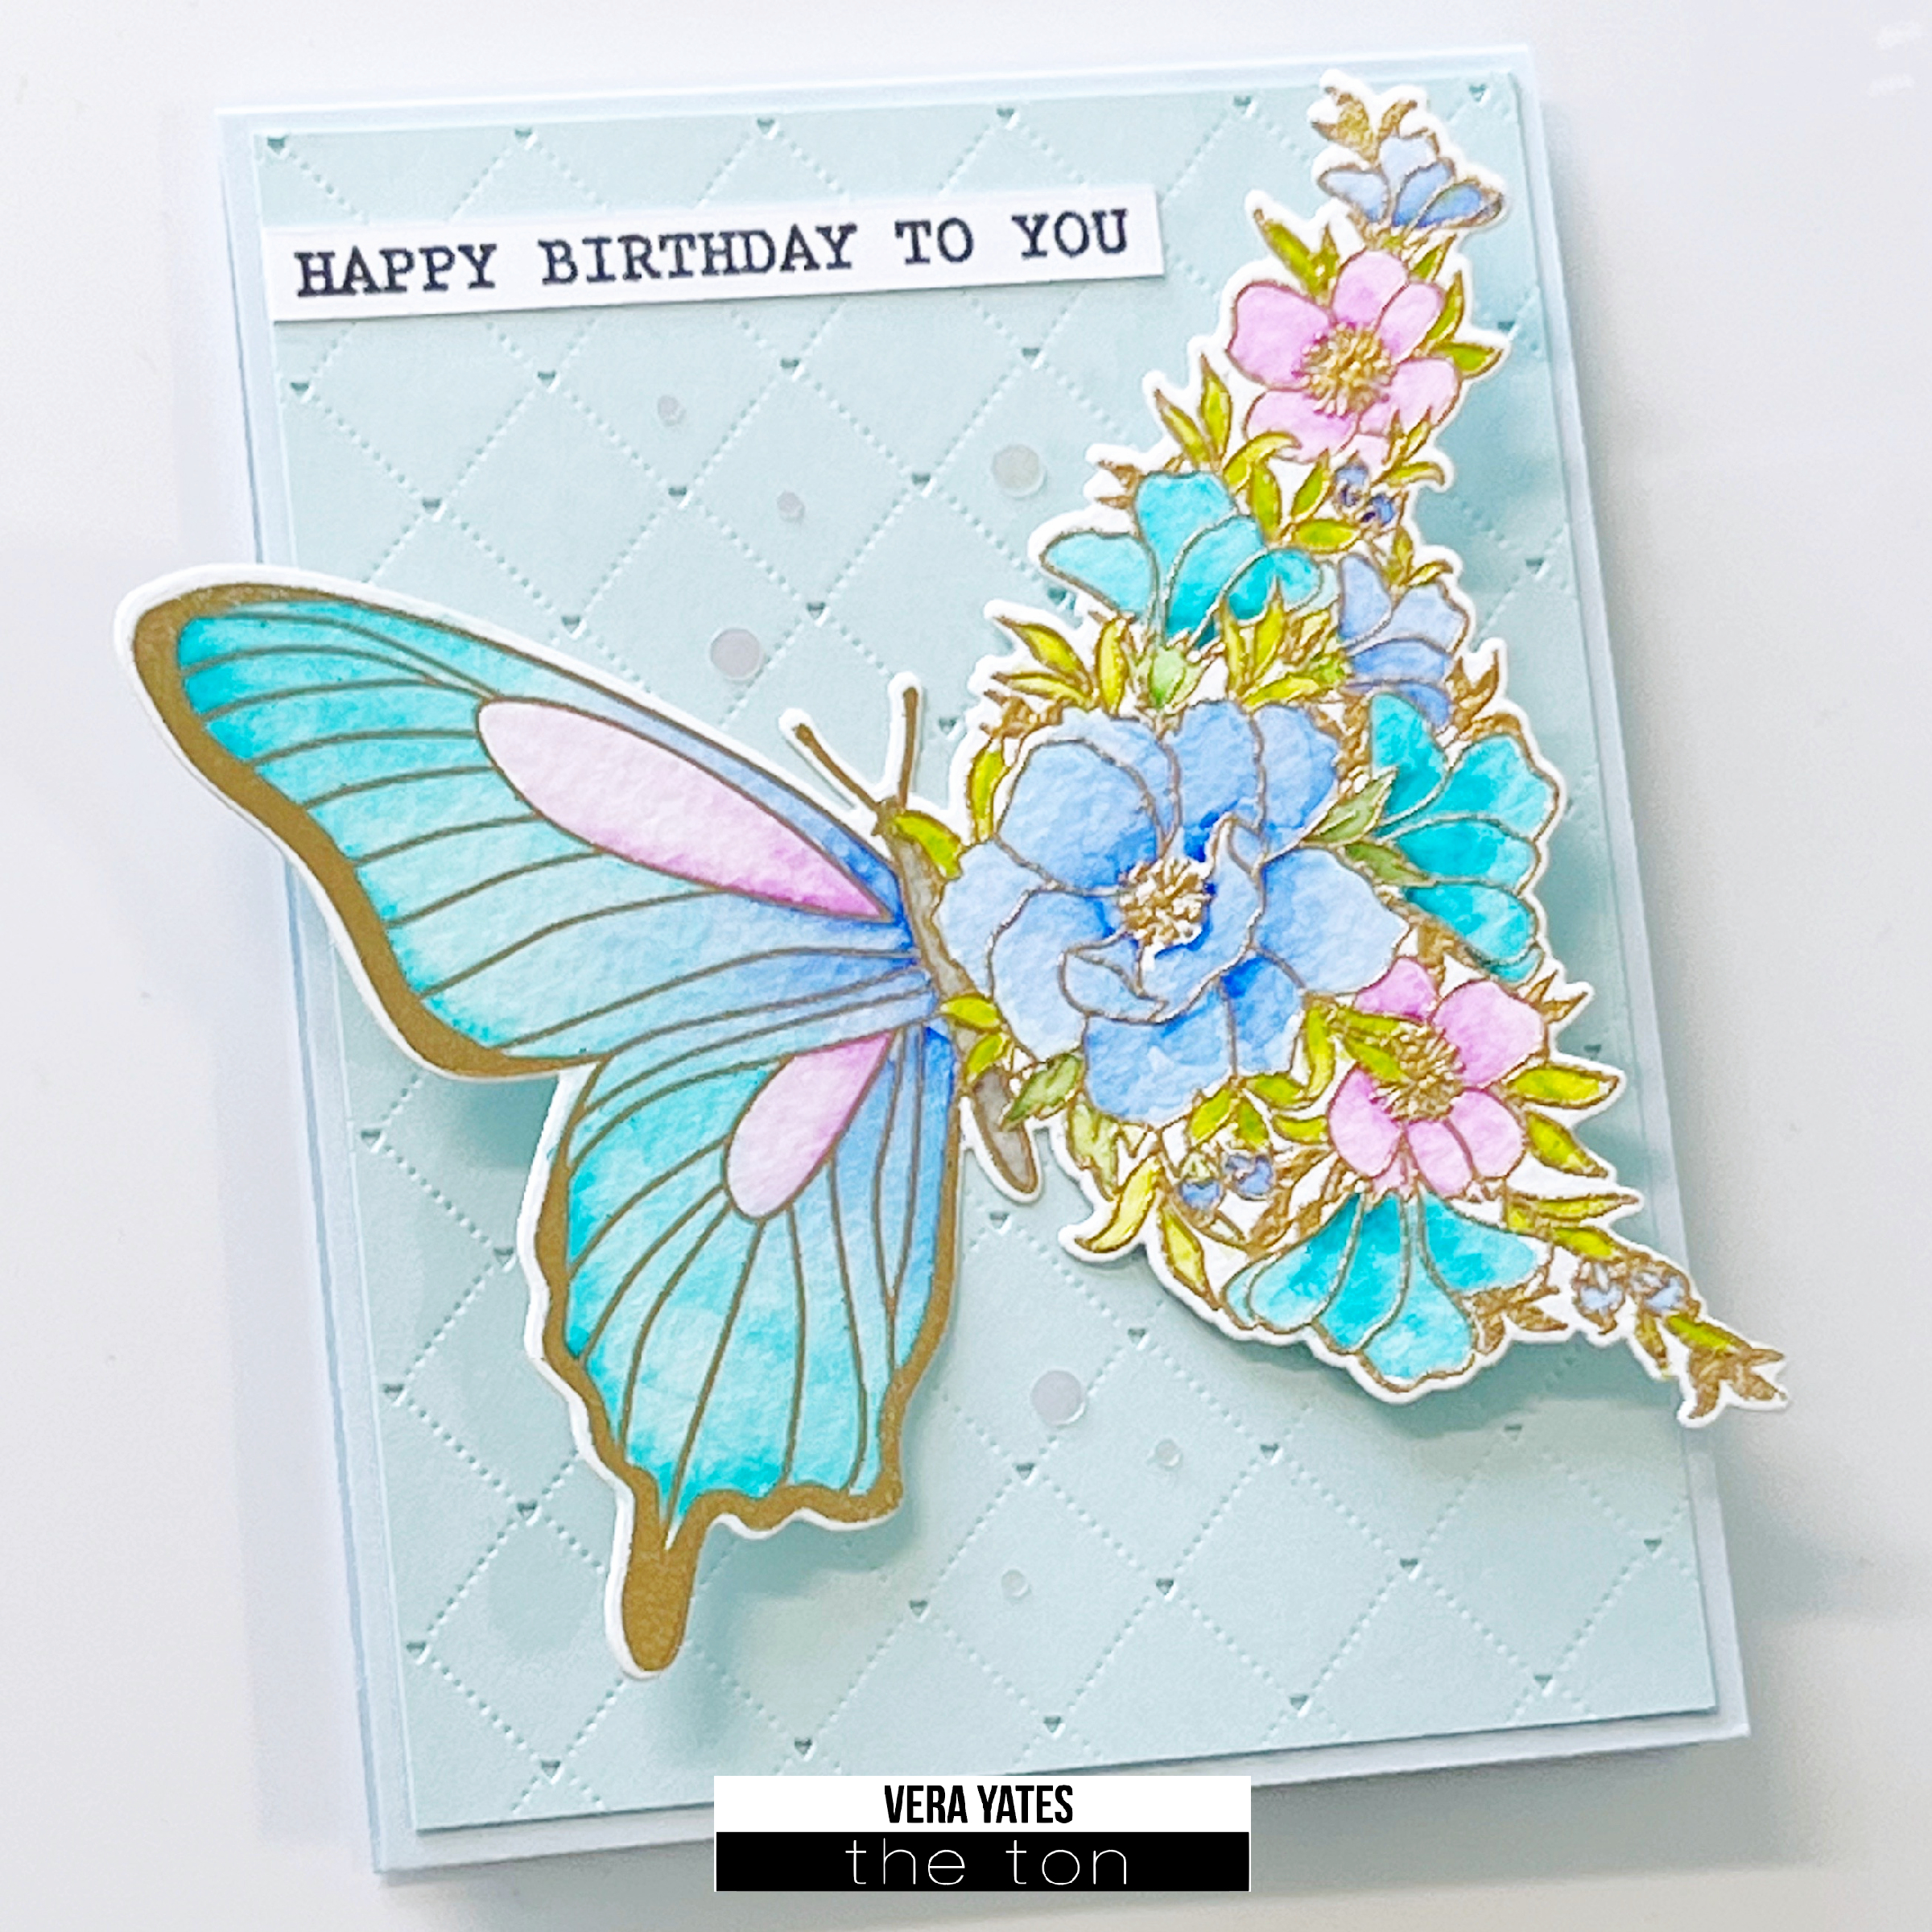
I remember when I first saw this set, I was head over heels in love with this set. And, few years later, yep still love it just as much. For this card, I start by stamping & heat embossing the butterfly on a piece of watercolor cardstock. Die cut the piece and watercolor the image. While waiting for it t dry, I die cut the background using Quilted A2 Background die. Adhere panel to card base and then adhere the butterfly.

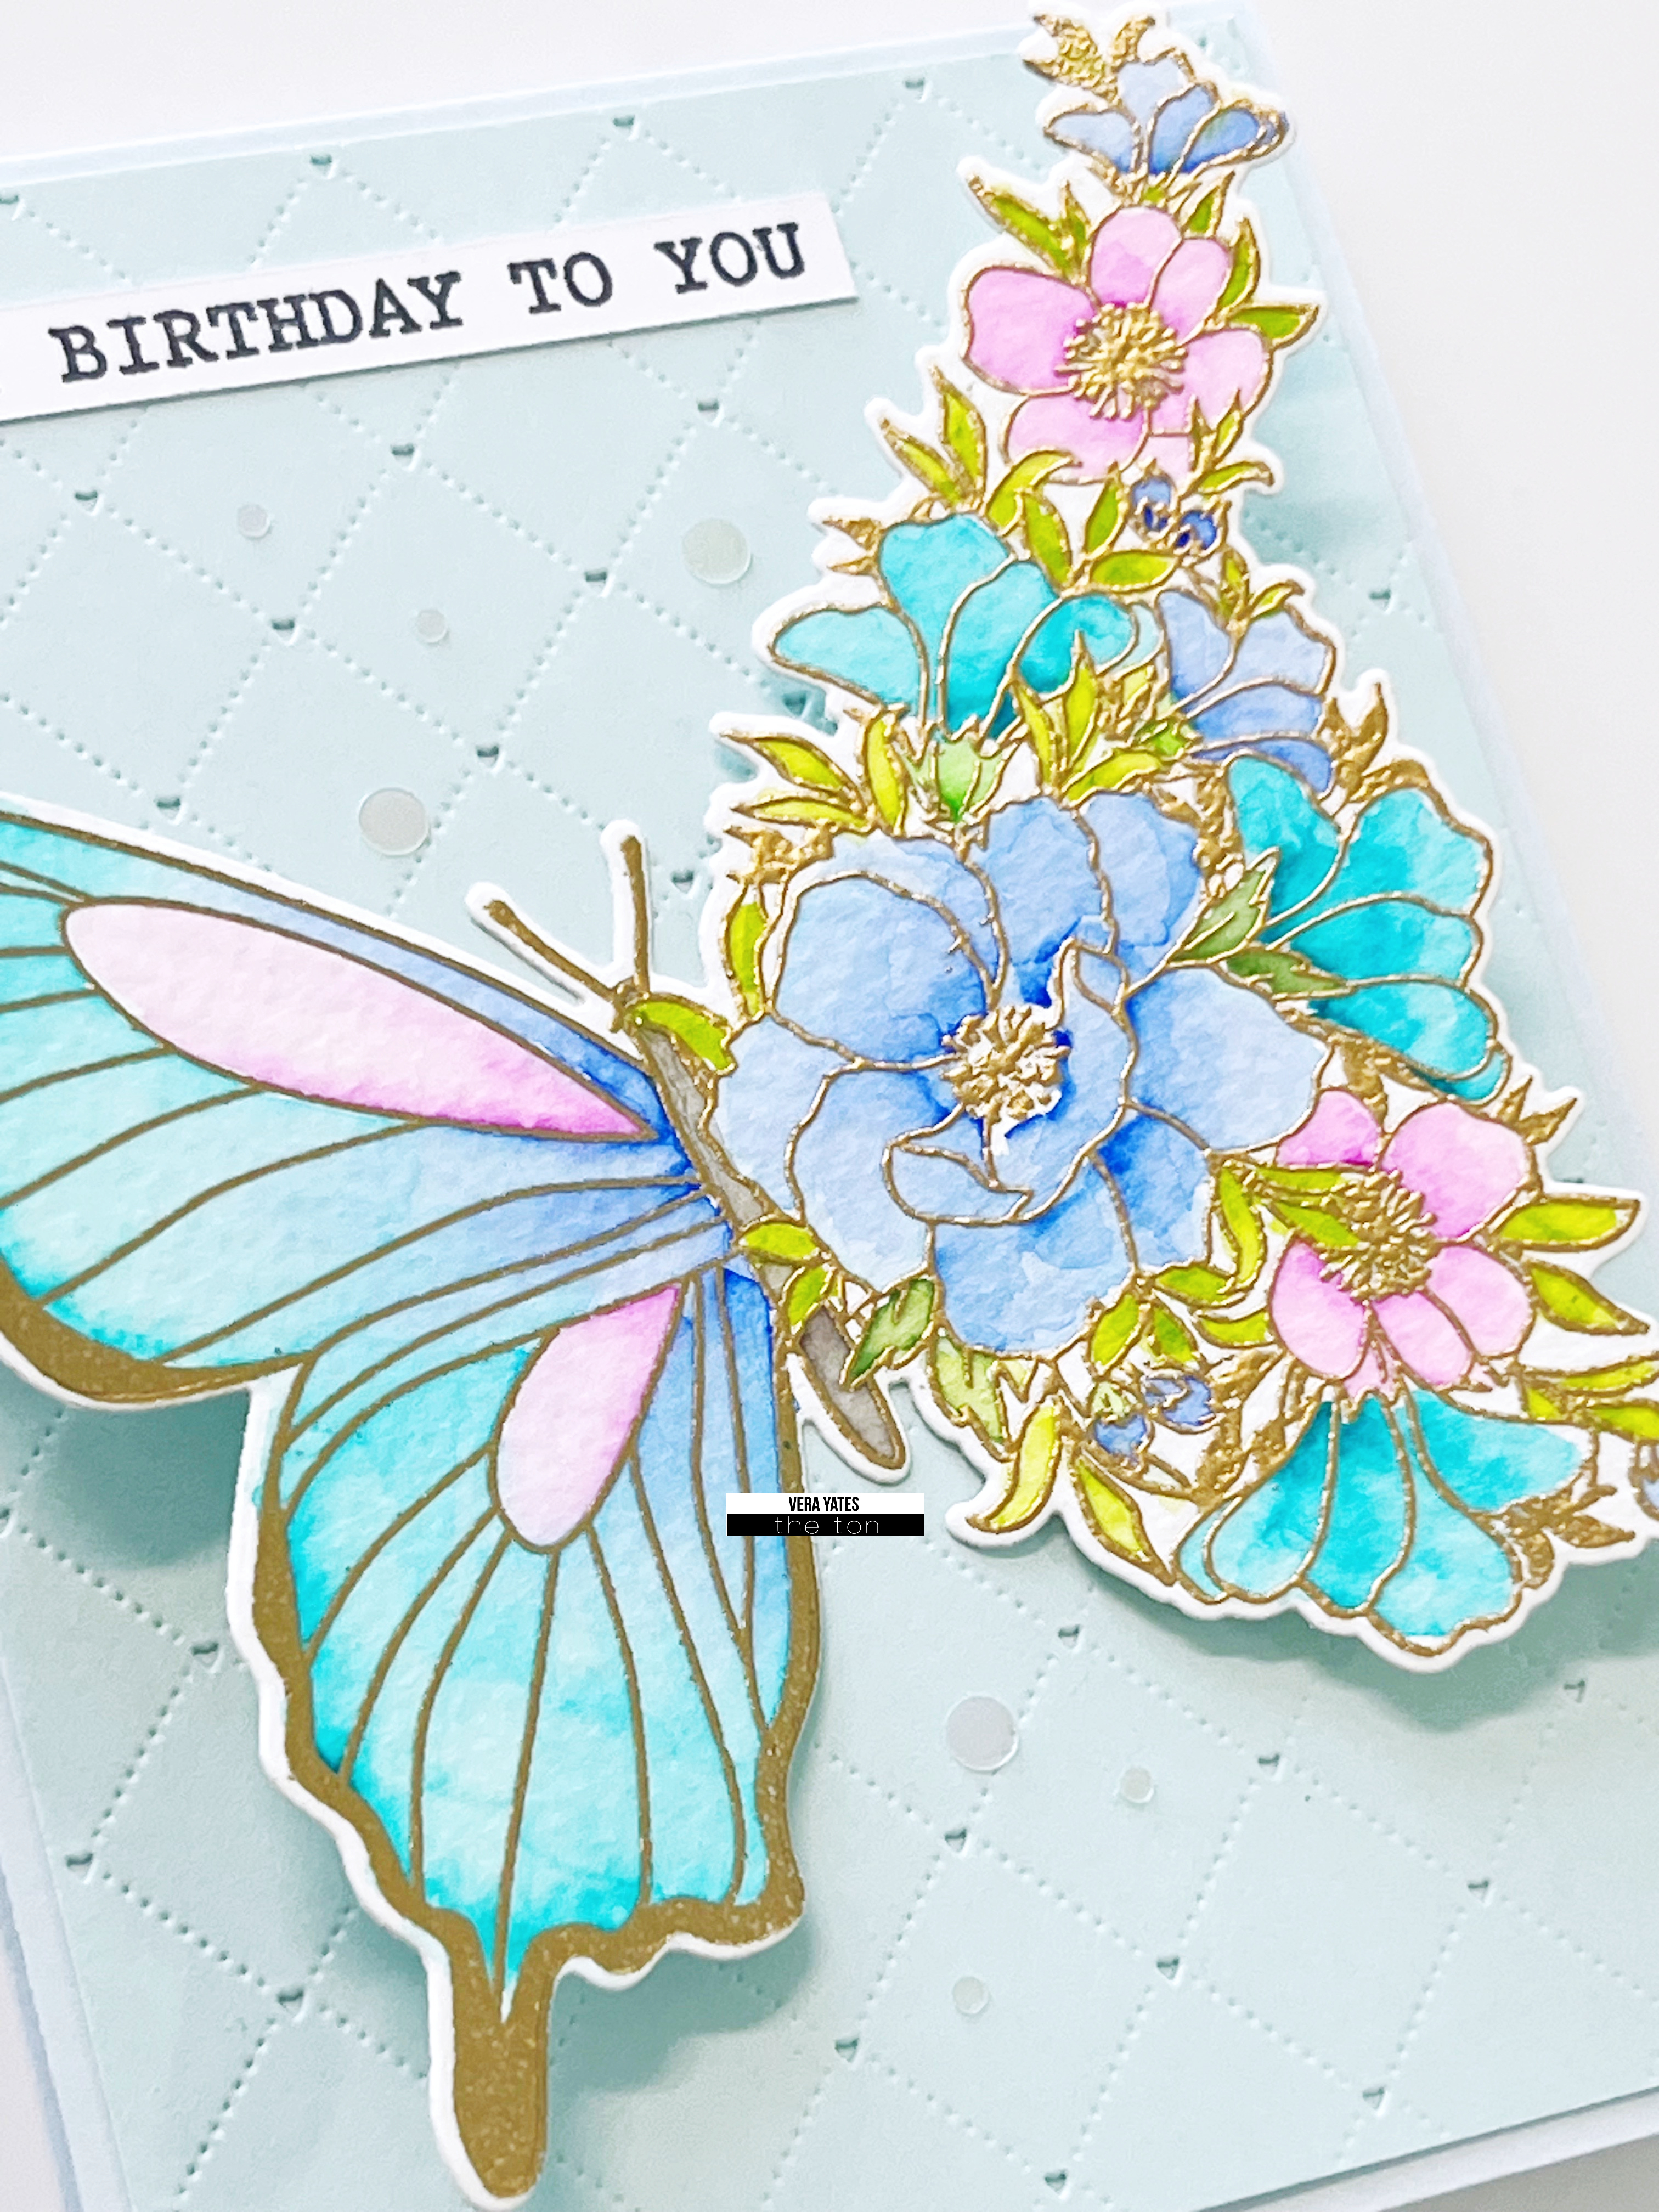
Finish by stamping sentiment from Heartfelt Blossoms on a strip of cardstock. I love the way this card turned out, so I decided to repeat it and make a thinking of you card as well. I simply change the color scheme.

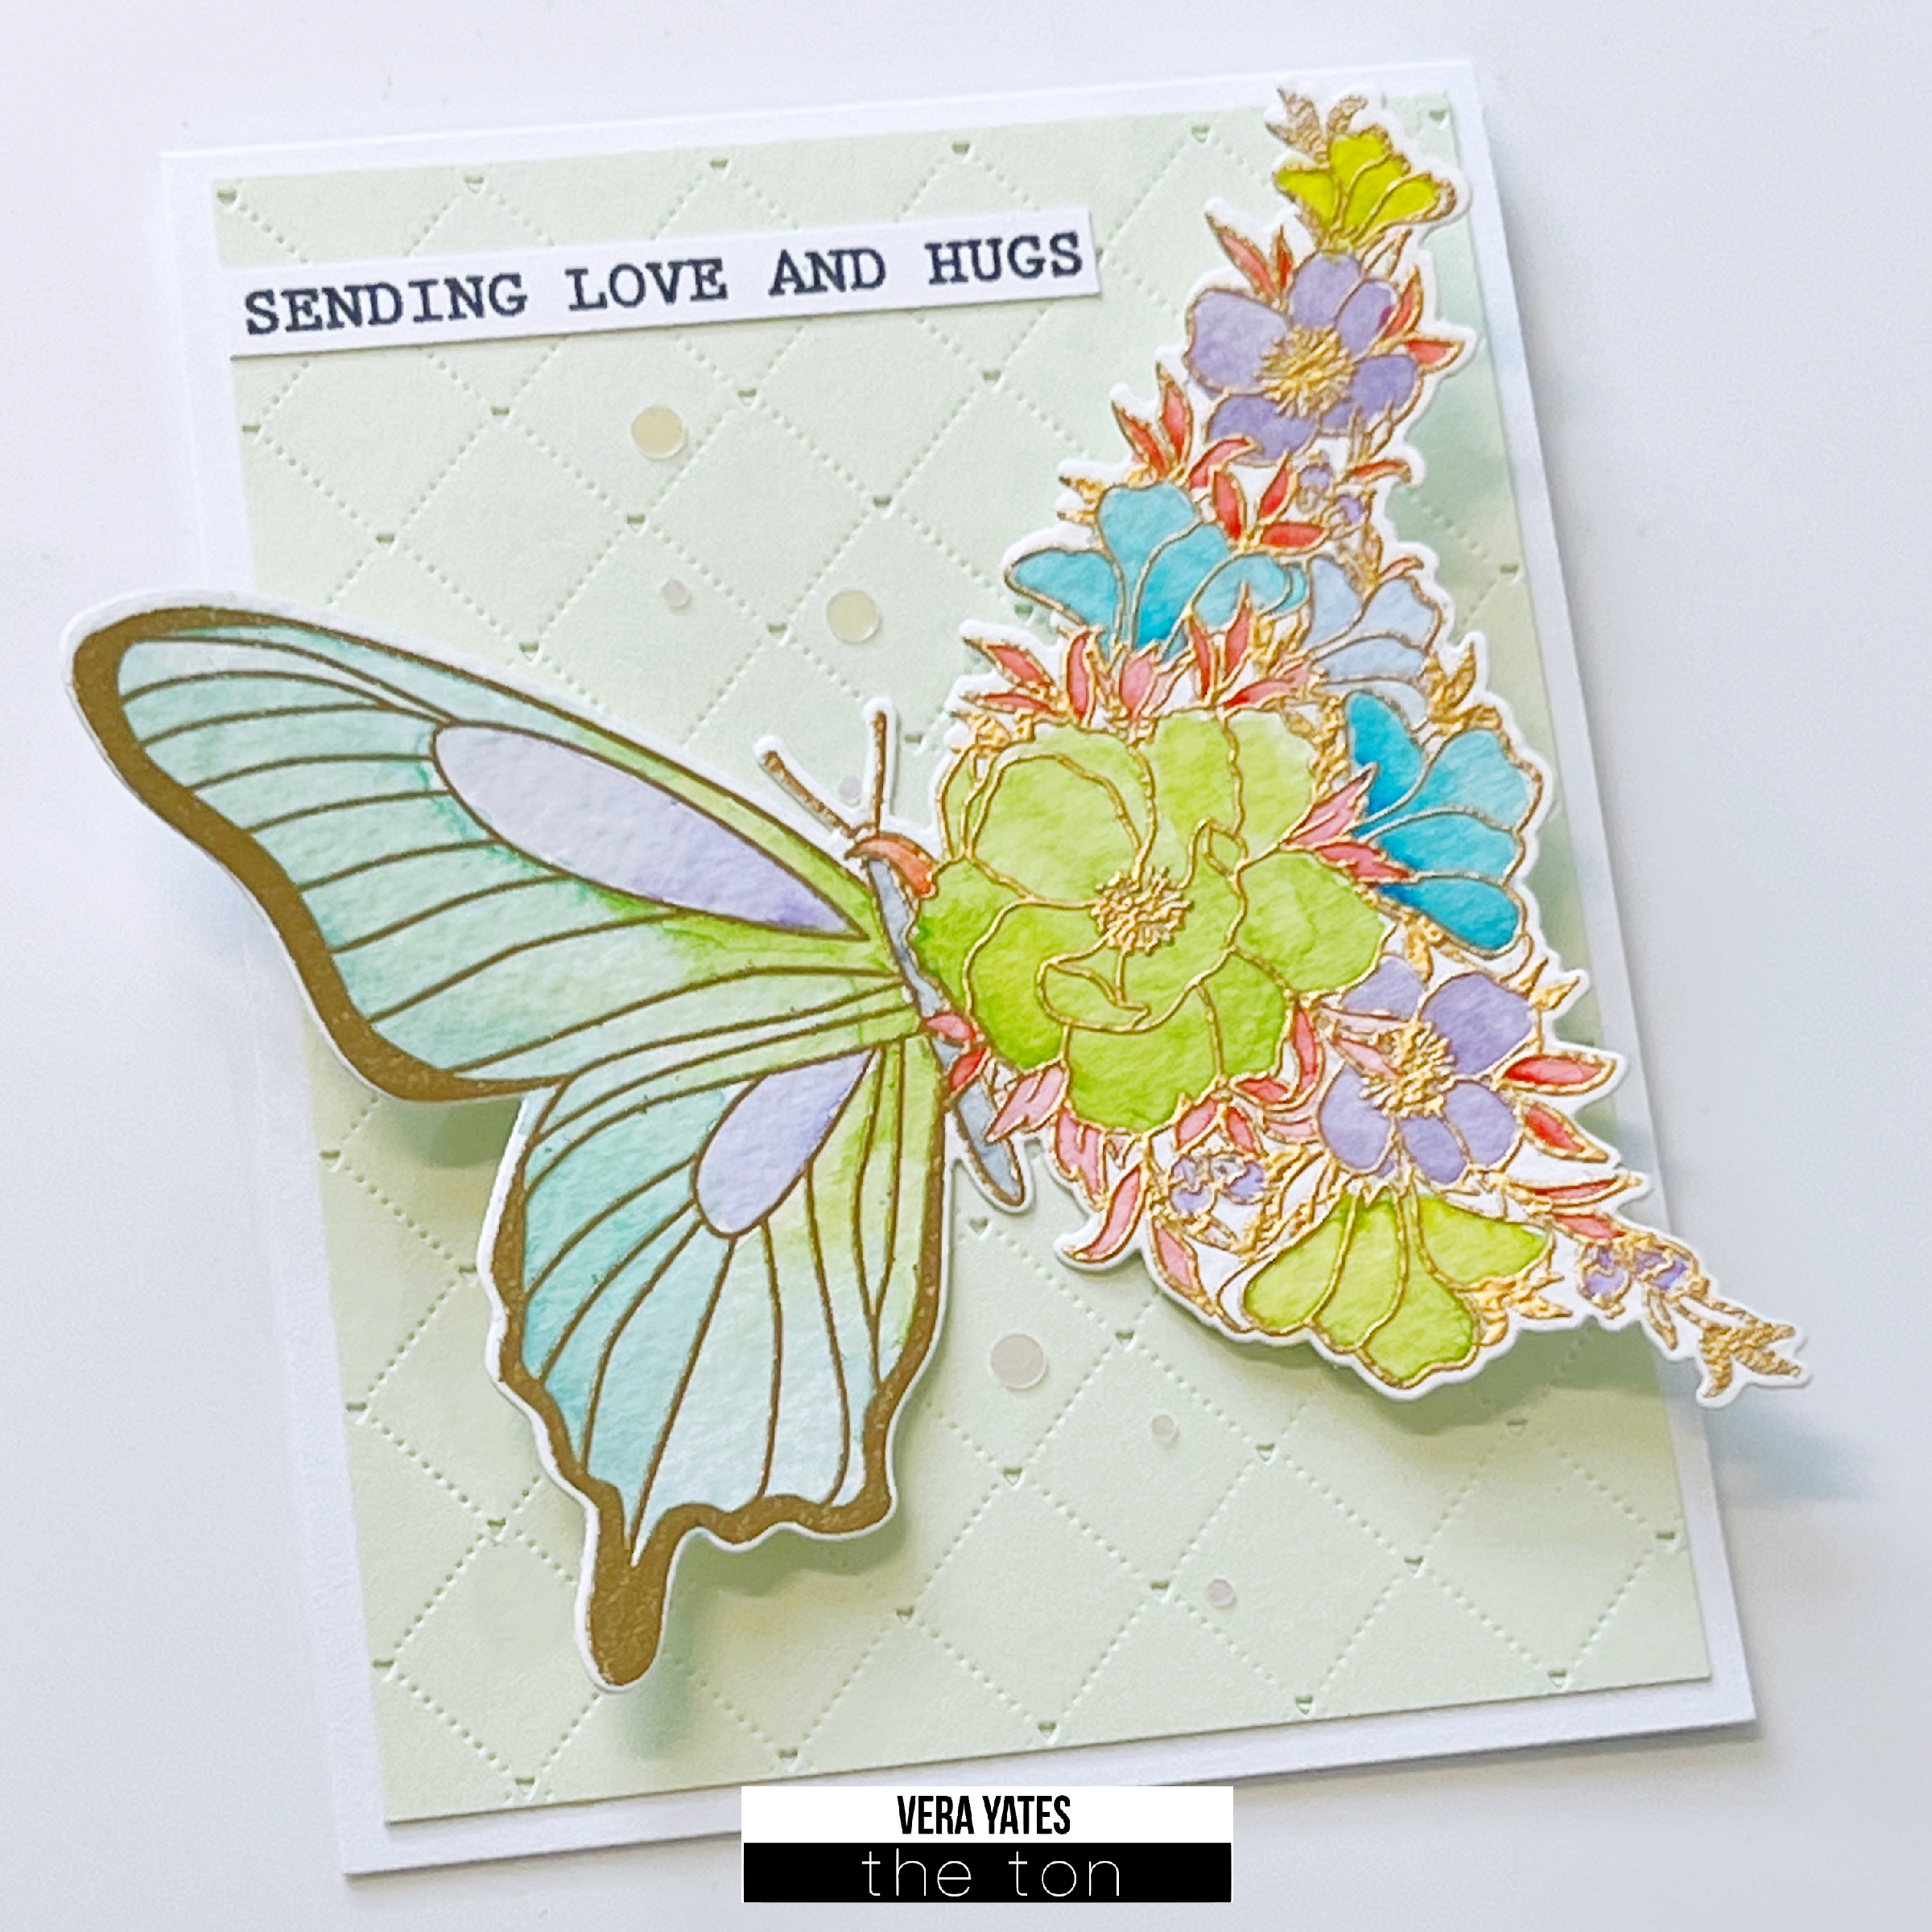
I am seriously thinking of making a bunch of card using this set, because not only I love the butterfly , but also it really didn’t take that long to make them.

I hope you enjoy today’s cards as much as I love making them. Wishing you all a beautiful day. Cheers…

Butterfly Hugs

Hi all. Vera here today. Since I’ve been doing lots of Christmas cards lately, I wanted to take a little break and create non Christmas card. And, I turned to one of my all time favorite set from The Ton, this gorgeous butterfly set called Transformation.

To start, I stamped and heat embossed the butterfly with Rose Gold embossing powder on a piece of watercolor cardstock. Die cut the image using Transformation coordinating dies. Once that done, I watercolor it and let it dry. While waiting for it to dry, I worked on the greeneries for the background. From a piece of watercolor cardstock I die cut Foliage Border and colored them. Once dry, I trim the border leaving only the leaves. Because I trim the border all the leaves came out loose and I simply adhere them directly to the card base.

Next, I adhere the butterfly to the card with foam adhesive. For the sentiment, I used one of the sentiment from Heartfelt Blossoms, trim it and adhere to the card. To finish, I add some Pixie Pink Sparkling Clear sequins and some enamel drops to the berries.

I love the way this card turned out and I hope you enjoy it as well. That’s all from me today peeps. For those who celebrate it, I wish you all a happy Thanksgiving week. Whether you celebrate it with family or friends or strangers, I hope it’s a good one and be filled with gratitude. Big hugs.

Transformation Shaker

Hello, everyone! Hope your week is off to a great start! It’s TaeEun here today with a shaker card made using Transformation butterfly and the coordinating cut file. However, there are coordinating dies available for preorder here. Please be sure to double check the ship date field on the drop down menu for approximate shipping date.

screen_shot_2019-09-19_at_7.23.24_pm_1024x1024

This butterfly is so gorgeous and is loved by many crafters! It’s such a dreamy image and the stamp set has some awesome encouraging sentiments! I love them!

I used the coordinating cut file to cut the shaker window, but Effie recently released the coordinating die for which you can place a preorder.

TT0930 1 WM

I started off by making the front shaker window panel using coordinating cut file on Cricut design space. I cut out the butterfly from an A2 sized rectangle and welded it with a rectangle frame. I then cut it from a white woodgrain cardstock.

TT0930 CU1 WMx

On the MISTI I placed the Transformation stamp on a watercolor paper panel aligning it with the shaker window. I heat embossed the image in Rose Gold embossing powder.  I colored the flowers and the butterfly wing in Peony, Lemon Yellow and Orange Color Burst.

TT0930 CU3 WM

I chose Flamenco Sunset and Pink Blossoms Couture Mixes to fill the shaker. I adhered some sequins on the image before I assembled the shaker together. Unfortunately I forgot to apply anti-static powder on the side of the foam tape wall, so many of the sequins are stuck there now. I have to make shaker cards more often to remember that 🙂 !

I stamped the sentiment on the front panel in Noir and the card was finished!

TT0930 2 WM

That’s it for today! I hope I was able to inspire you with my card!

Thank you so much for stopping by and for your lovely comments in advance!

Have a crafty day!

TaeEun