Rose Bouquet

Hello everyone! Hope you’re having a great week so far! It’s TaeEun here today with a one layer floral card! I pulled out two old stamp sets which I love ;The Rose Bouquet and the Timeless Icons Sentiment set, and made a simple watercolored one layer card.

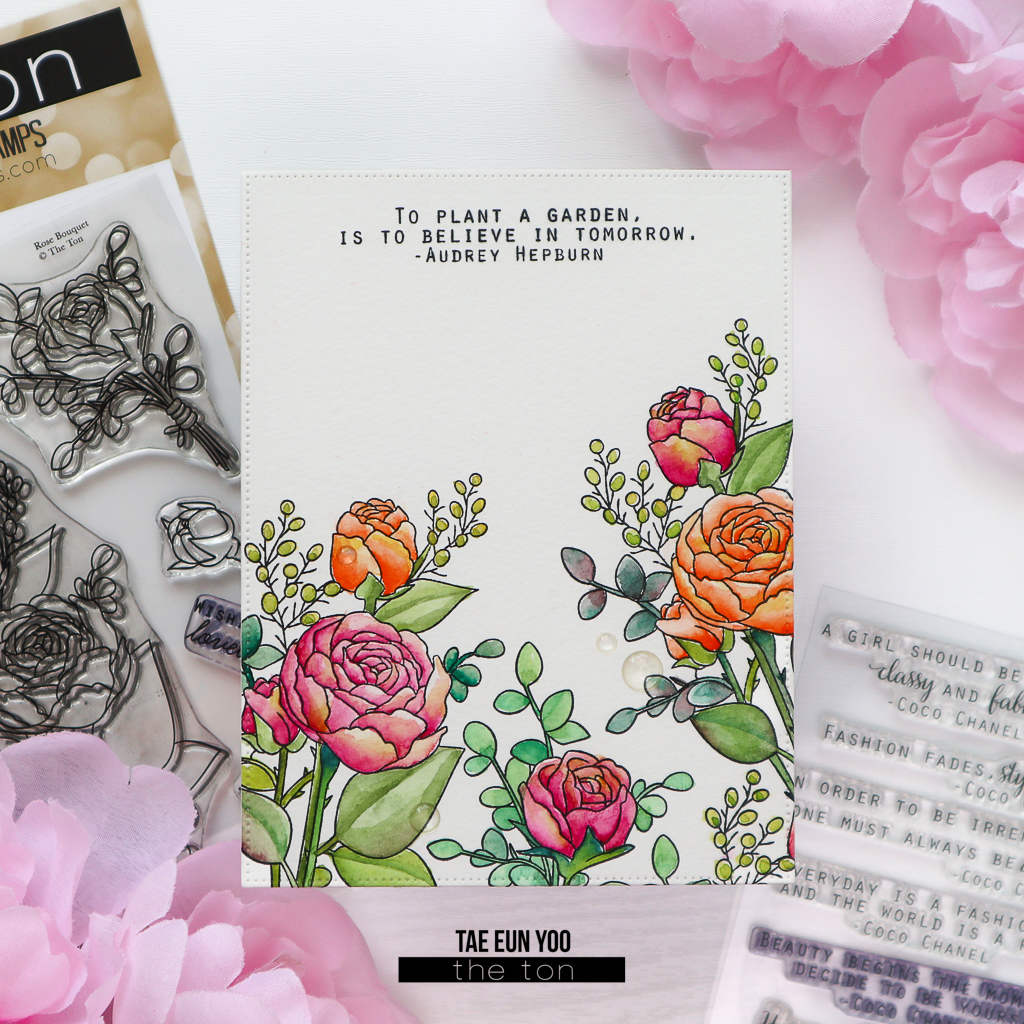
To start, I stamped the Rose Bouquet images on a watercolor paper panel in Caviar hybrid ink, which is watercolor-friendly. I used two images from the set to fill the lower half of the panel. 

I then watercolored the roses and the leaves, painting them in orange and pink while mixing a bit of yellowish brown into the pink flowers. 

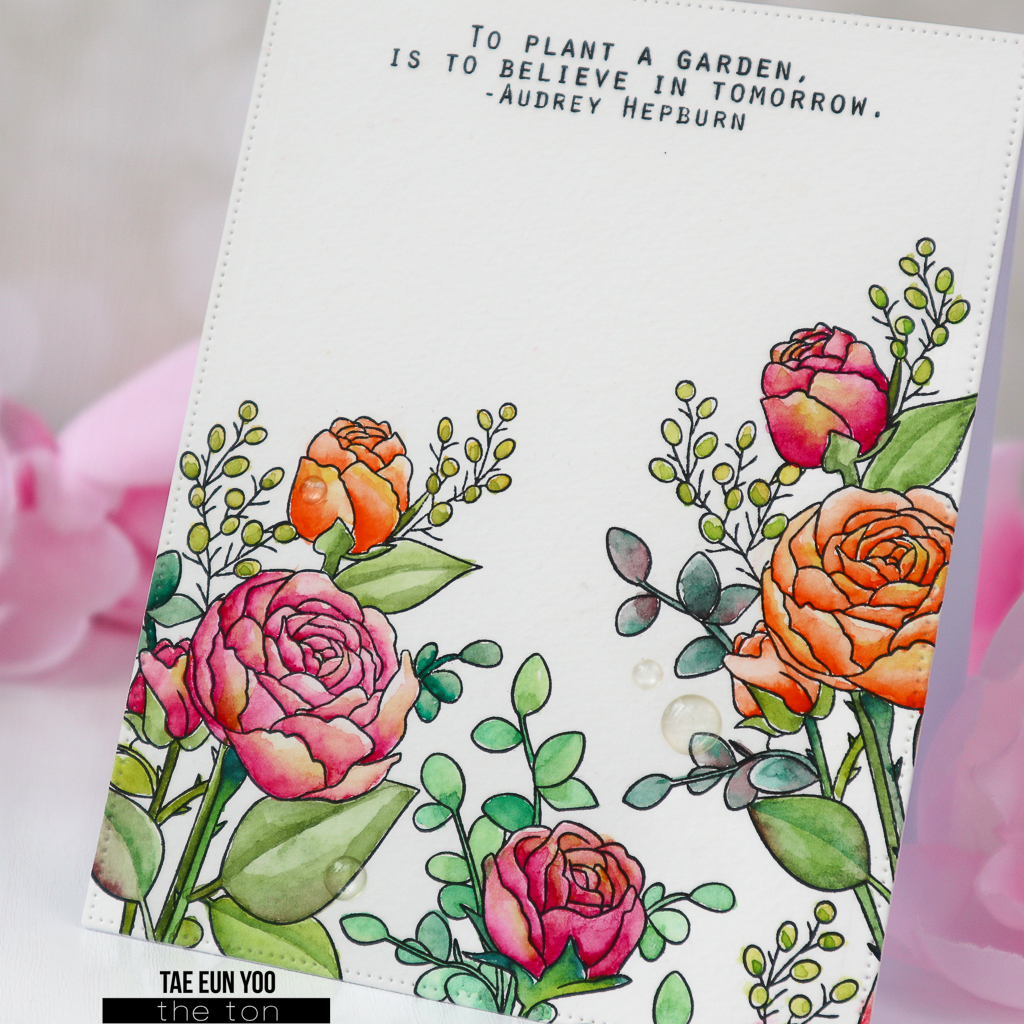
After I finished coloring, I stamped the sentiment in Noir to the top of the panel. 

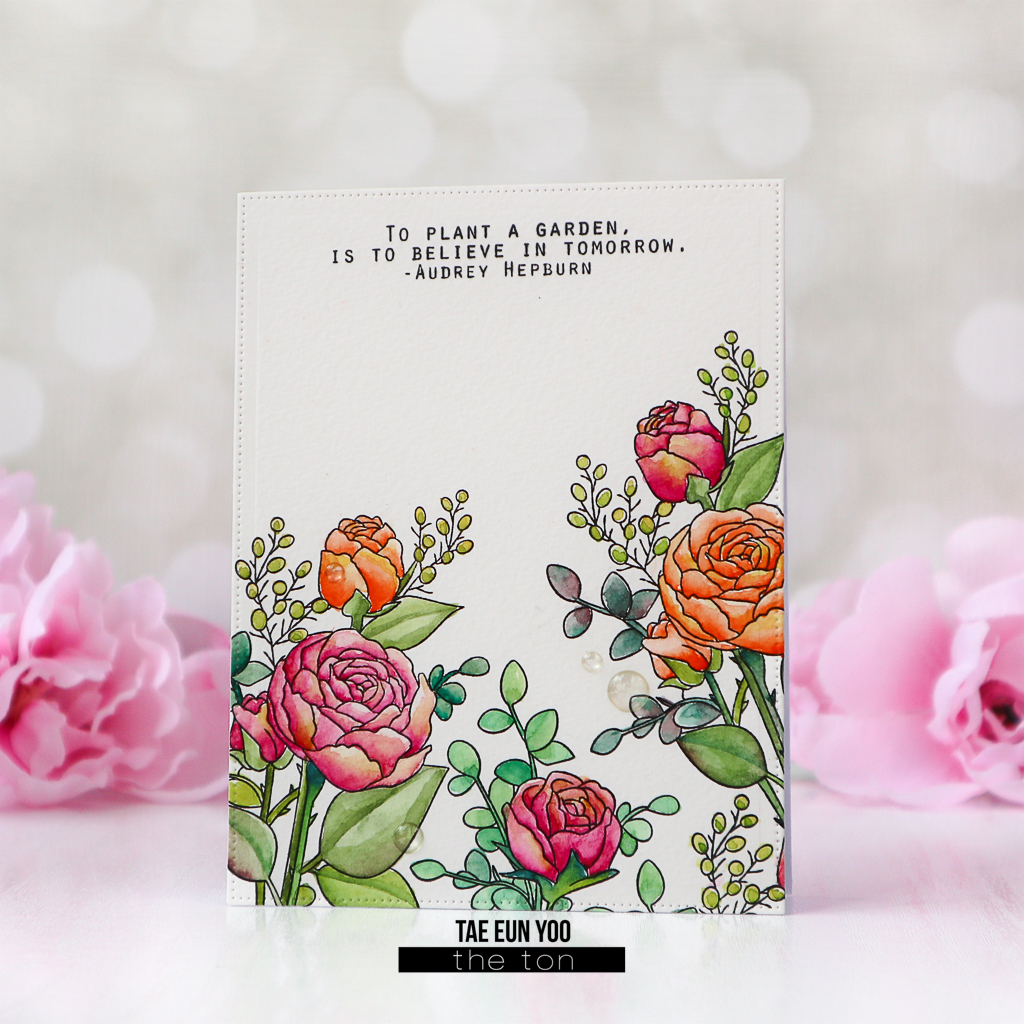
Next, I cut the panel using the largest die from the Double Pierced Rectangle A2 Nested die set and adhered it on a white cardbase. 

To add some fresh feel to the card, I added three Dew Drop Clear Enamel Dots

I like to fill half of my card or the perimeter of it with small floral clusters when I make a one layer card design so that I have some empty space for my sentiment 🙂 ! 

Hope you enjoyed looking my card! Please check out the old floral stamps by The Ton. There are tons of gorgeous floral clear stamps in the shop

Thank you so much for stopping by!

Have a wonderful rest of the week!

TaeEun

Background Stamping on CAS cards

Hello everyone! Hope you had a wonderful time with yours this holiday! It’s TaeEun here today with a couple of CAS floral cards. I used two background stamps to add some interest to my clean and simple designs.

As the main floral element I used the bouquets from our Rose Bouquet stamp set. And my two cards are featuring Freestyle Stripes and Mini Heart Print Cling background stamp.

To start off I gold heat embossed the two bouquets from Rose Bouquet on watercolor paper and colored them using Color Burst powders. After done with coloring I cut them with coordinating dies. I splattered opaque white ink on the bouquet and let them dry.

TheTon1227 1 4

For my first card I gold heat embossed Freestyle Stripes background on my cardbase and rounded the corners. I cut a rounded rectangle panel with my cutting machine from a white woodgrain cardstock and stamped the sentiment from Rose Bouquet in Noir on it. To add more golden element I tied some golden thread on this panel and foam mounted it on the cardbase. The bigger bouquet was then adhered onto the card, tucked underneath the thread. I used some foam adhesives to add more dimension on the upper part of the bouquet. To finish off I added a golden bow and some sequins from Medallion Gold.

TheTon1227 1 CU1

To create the second card I gold heat embossed Mini Heart Print cling background stamp on the cardbase.

TheTon1227 2 3

The front panel was cut with a Double Stitched Rectangle die from a white woodgrain cardstock. I stamped the sentiment from Wishful Rose in Noir on it.  I assembled my card by foam mounting the front panel and the small rose bouquet on it. For me it’s always hard to choose the best embellishment for my cards. For this one I was thinking a lot but decided to leave it so clean as it is :).

TheTon1227 2 CU1

The Ton Challenge

There is still time to enter your project into our Mood Board Challenge ! Don’t forget to stop by The Ton Challenge blog for inspiration projects from our DT members and our guest designer Gloria. You could be a guest designer too, if you win at the challenge! And as always there is a $50 *gift certificate to The Ton Shop to win!!!

20748381_10103746437785459_2858185153120232728_o

*Gift certificates are only valid on The Ton Stamps, Dies, Ink and Gilding Section in our shop.

Thank you so much for looking my cards today! Hope you like them :)! 

Wishing you all a great start into a happy New Year!!!

Hugs,

TaeEun