Mid-Hibiscus Layering Stencils

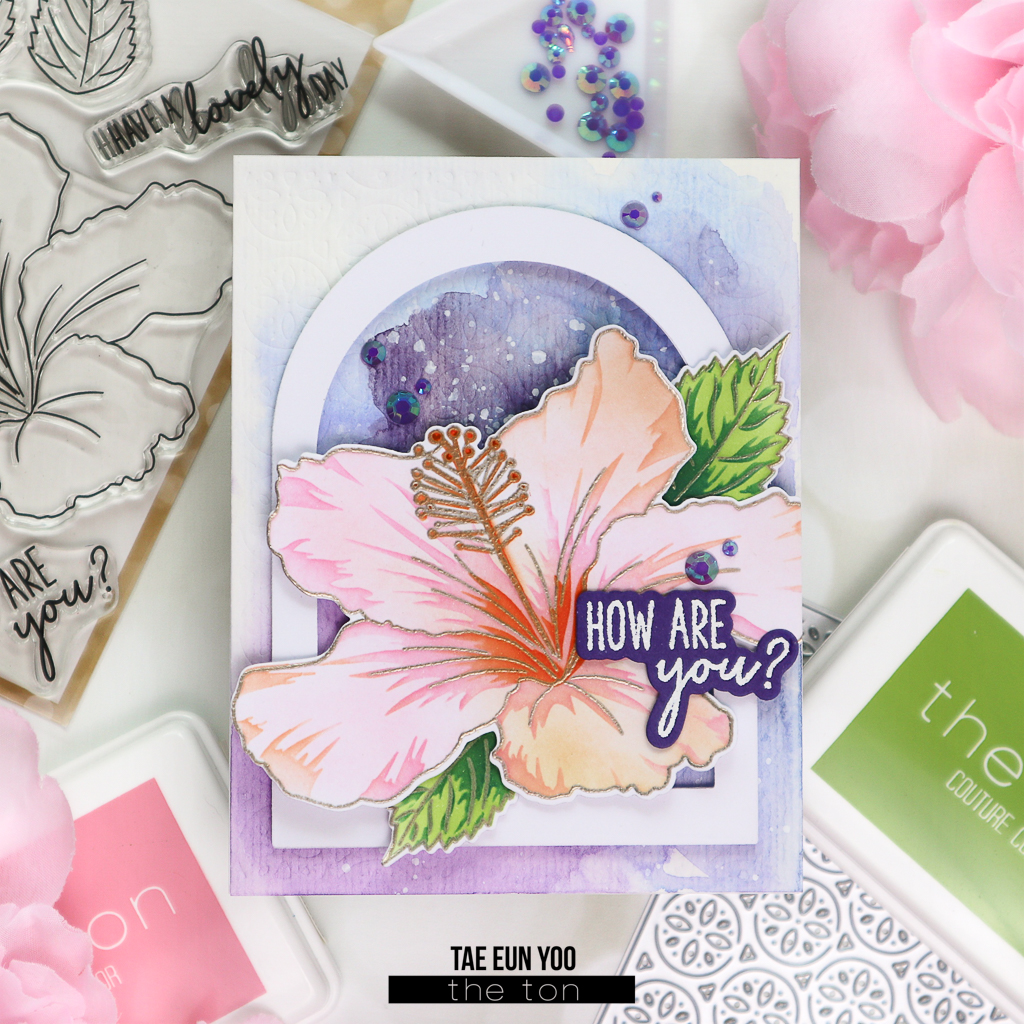
Hello everyone! Hope you’re having a great week so far! It’s TaeEun here today with a stenciled hibiscus postcard! Like my last card I shared here on Saturday, I once again used layering stencils without the coordinating outline stamp. The Mid-Hibiscus layering stencils coordinate with the Blooming Hibiscus stamp set and the Mid-Hibiscus die

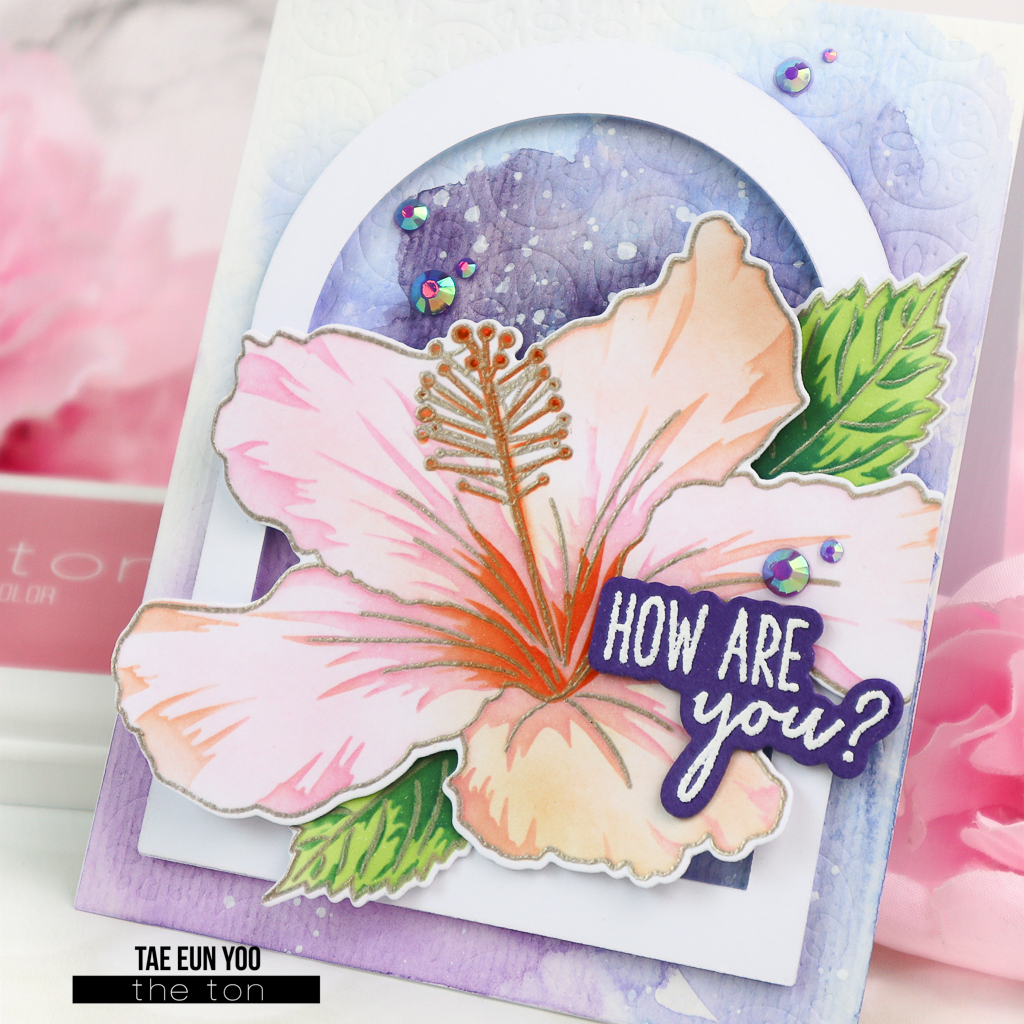
To begin, I cut white cardstock using the coordinating die and stenciled the Mid-Hibiscus onto it on the Grip Mat. I stenciled the first layer in Lemon Drop, the second layer in Amber Citrine and Peach Blossom, and the third layer in Coralline hybrid ink. The leaves were stenciled in Matcha and Everglade Moss

I then stenciled the orange and green stripes on the white cardbase in Coralline hybrid ink and Matcha using the Postage: Stripes stencils. I foam mounted the background panel, which I cut using the Postage Party die, to the cardbase. The postage stamp image from the Not a Bill set was stamped in Noir, and the Sentiment from the Postage: Sentiments set was stamped in the same colors as the stripes. 

I added the flower and the leaves using foam tape to the card and scattered a few Bright Yellow opaque rhinestones to complete my card!

That’s it from me for today! I hope you like my card 🙂 !

Thank you so much for visiting!

TaeEun

Blooming Hibiscus

Happy Friday, everyone! It’s TaeEun here today, with a stenciled floral card featuring some of the new items from the Fall and Winter Release! For my focus, I used the Blooming Hibiscus stamp and the Mid Hibiscus layering stencils that coordinate with each other. I stenciled the flower in light pink and coral and arranged it on a dark background. 

To start, I heat embossed the Blooming Hibiscus image on a white cardstock in liquid platinum. I then placed the cardstock panel on the Grip Mat for stenciling and stenciled the images using the Mid-Hibiscus Layering stencils. I ink blended the first layer of the hibiscus in Beach Blondie, Bubblegum, and Peach Blossom. The second layer was stenciled in Hollywood Star and Peach Blossom, and the third layer in Coralline hybrid ink. The two leaves were stenciled in Meadow and Basil Mojito. Once done with the stenciling, I die cut the images using the coordinating die and set them aside.

To create a dark background, I watercolored a mixed media paper panel in blue, purple, and black. After the panel was dry I dry embossed the panel with the Sand Dollar coverplate die. I splattered white opaque ink on the background panel and adhered it on a white cardbase. 

Next I cut a white dome frame using two dies from the Dome Nested Dies set. I cut it two times to stack and foam mounted the frame on the card. 

For some dimension I curled up the tip of the petals lightly and added the flower and two leaves to the card using foam tape. 

The sentiment is also from the Blooming Hibiscus set, which I white heat embossed on purple cardstock, cut using the coordinating die, and added to the card. 

Lastly, I scattered a few Dark Purple Opaque Rhinestones to complete the card! 

Hope you like my card! I had lots of fun to make this in my favorite color combos! 

Thank you so much for visiting!
Have a lovely weekend!

TaeEun