Gentle Peonies

Hi friends. Vera here. I was organizing my craft room this weekend and going through The Ton collection on my stash. It dawned on me that by October this year, I’d be with The Ton for 10 years! How crazy is that? And, yes, I still have some sets from way back then.

With the economy right now, I know many of us trying to stretch our stash. So, I thought for today, I am sharing some oldies that I still love. I hope this also encourage you to look at your stash with new ideas. Here, I mix and match several sets to create this card below.

To start, I inked up Gentle Peonies Layering dies with various inks. I used Hot Tourmaline, Meadow, Violet Fringe, Plum Wine, Soft Ash, Smoky Quartz & Lemon Drop. It might look like I used more colors, but I am not. I simply start with very light touch for the first layer and added more ink and pressure as I go through the next and the next layers.

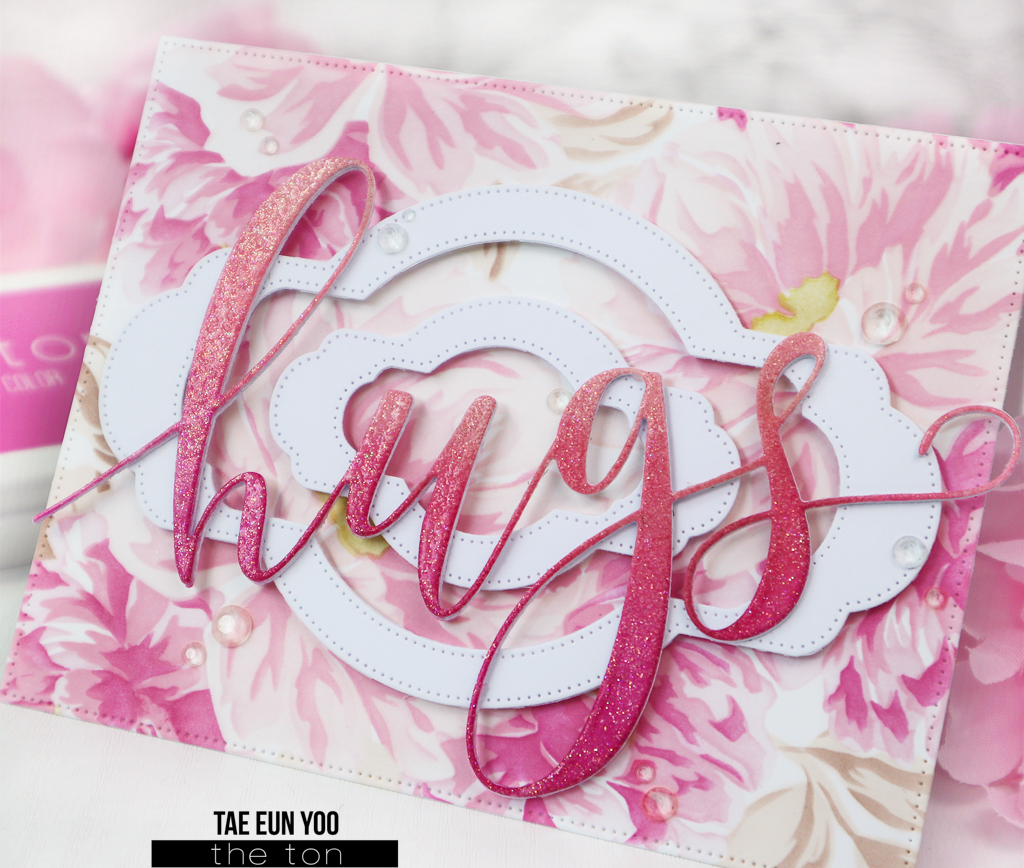
Once done, I trimmed the paper. Hah… I almost didn’t want to. It looks so pretty just the way it is. Anyway, I trimmed it, adhere to card base and stamped sentiment from Baroque Frame set.

If you want, you could just stop here. I decided to take another step, by stamping the outline from this Peony set that I believe was from 2nd of 3 year from The Ton. I should have checked, but I don’t think this set is available anymore. But, you get the idea. Basically you can use any flower outline set that you have on your stash.

I do feel like when you take the time to go through your old stash, it almost felt like going shopping. I saw some sets where I was like oooh, I forgot I had this set. It makes me excited all over again to use them. Hope you enjoy today’s card and I wish you all a lovely day. Till next time.

Gentle Peonies

Hi peeps. Vera here on this fine Thursday. I am definitely on layering stencil roll nowadays. In the past few weeks The Ton been hosting weekly blog hop showcasing the many beautiful layering stencils that’s available at the shop. Well, this helped me revisiting old sets and all & it’s ben wonderful to b reminded that there’s so many sets that deserves to be used again and again.

Today I am showcasing Gentle Peonies Layering Stencil.

No matter which peonies set it is from The Ton, they always tend to capture my heart simply because they’re such gorgeous flower. Here I ink blending Caribbean Turquoise, Bright Emerald, Cali Blue, Parisian Blue, Matcha & Soft Amethyst ink. Full disclosure though I tend to be pretty lazy in cleaning up my ink blending brush, so sometime there’s a bit of leftover from previous used still there and I just keep going. Sometimes I do end up with interesting color that for the life of me I will never be able to repeat since I never know which hue of blue or which hue of teal was on the brush. Hah! Anyway, this card pretty straight forward. Once I am done with the coloring, I trimmed the panel and adhere to card base. Stamp sentiment from 2nd Ed. Fill It In Sentiment set.

Finished by adding some mix size dew drops. Oops, almost forgot. Since I am firm believer a little glitter never hurt, I also added some glitter using Stickles to the center of the flower. And, now, we’re really finish.

Hope you enjoy today’s card and don’t forget to join us next Tuesday for another Instagram layering stencil hop. Have a great Thursday all.

Gentle Peonies

Hello and Happy Friday ! It’s TaeEun here today sharing a peony card with you! I made a soft floral background using the Gentle Peonies Layering stencil set and added the huge Script sentiment to it! 

I started by stenciling the Gentle Peonies. In this set there are four stencils for the peony flowers. After stenciling using four tones of inks you get some dark colored flowers and some bright ones. I used Whisper Pink, Rose Quartz, Bubblegum and Dolled Up to stencil the peonies in pink. For a soft look I chose Soft Cream and Warm Hazelnut to stencil the leaves. 

After done with stenciling I cut the 6” x 6” panel using the largest die from the Double Pierced Rectangle A2 Nested Die set and adhered it on a white cardbase.

As I wanted some white area in the background, I cut two white frames using the Double Pierced Ornate Nested Die set and foam mounted them on the card. 

Next I ink blended a white cardstock in Bubblegum and Dolled Up to create a pink ombre panel and cut the Script Hugs sentiment from it. I layered it with two more die cut sentiments and heat embossed it in Iridescent Sparkle embossing powder. 

I added the sparkling sentiment to the card and finished it off with a few Crystal Clear Rhinestones

That’s it from me for today! Hope you enjoyed looking my card!

Wishing you all a lovely weekend!

TaeEun