Gardenia Wishes

Hi friends. Vera here. This past weekend I was in the mood of organizing my stash and as I am going through all the stamps that I have, it made me realized that I have so many great sets that deserved to be used more than just once or twice. I am pretty good at only keeping sets that I truly love. If it’s no longer giving me joy, I give them away. There are only a few companies that I keep most of their sets. Including The Ton. I still have many of the sets I have of The Ton. Not because I am designing for The Ton, but because I love the sets. Simple as that. And, I promised myself to always take the time to show love for older sets.

With that in mind, today I am showcasing an older but beautiful set called Gardenia Wishes.

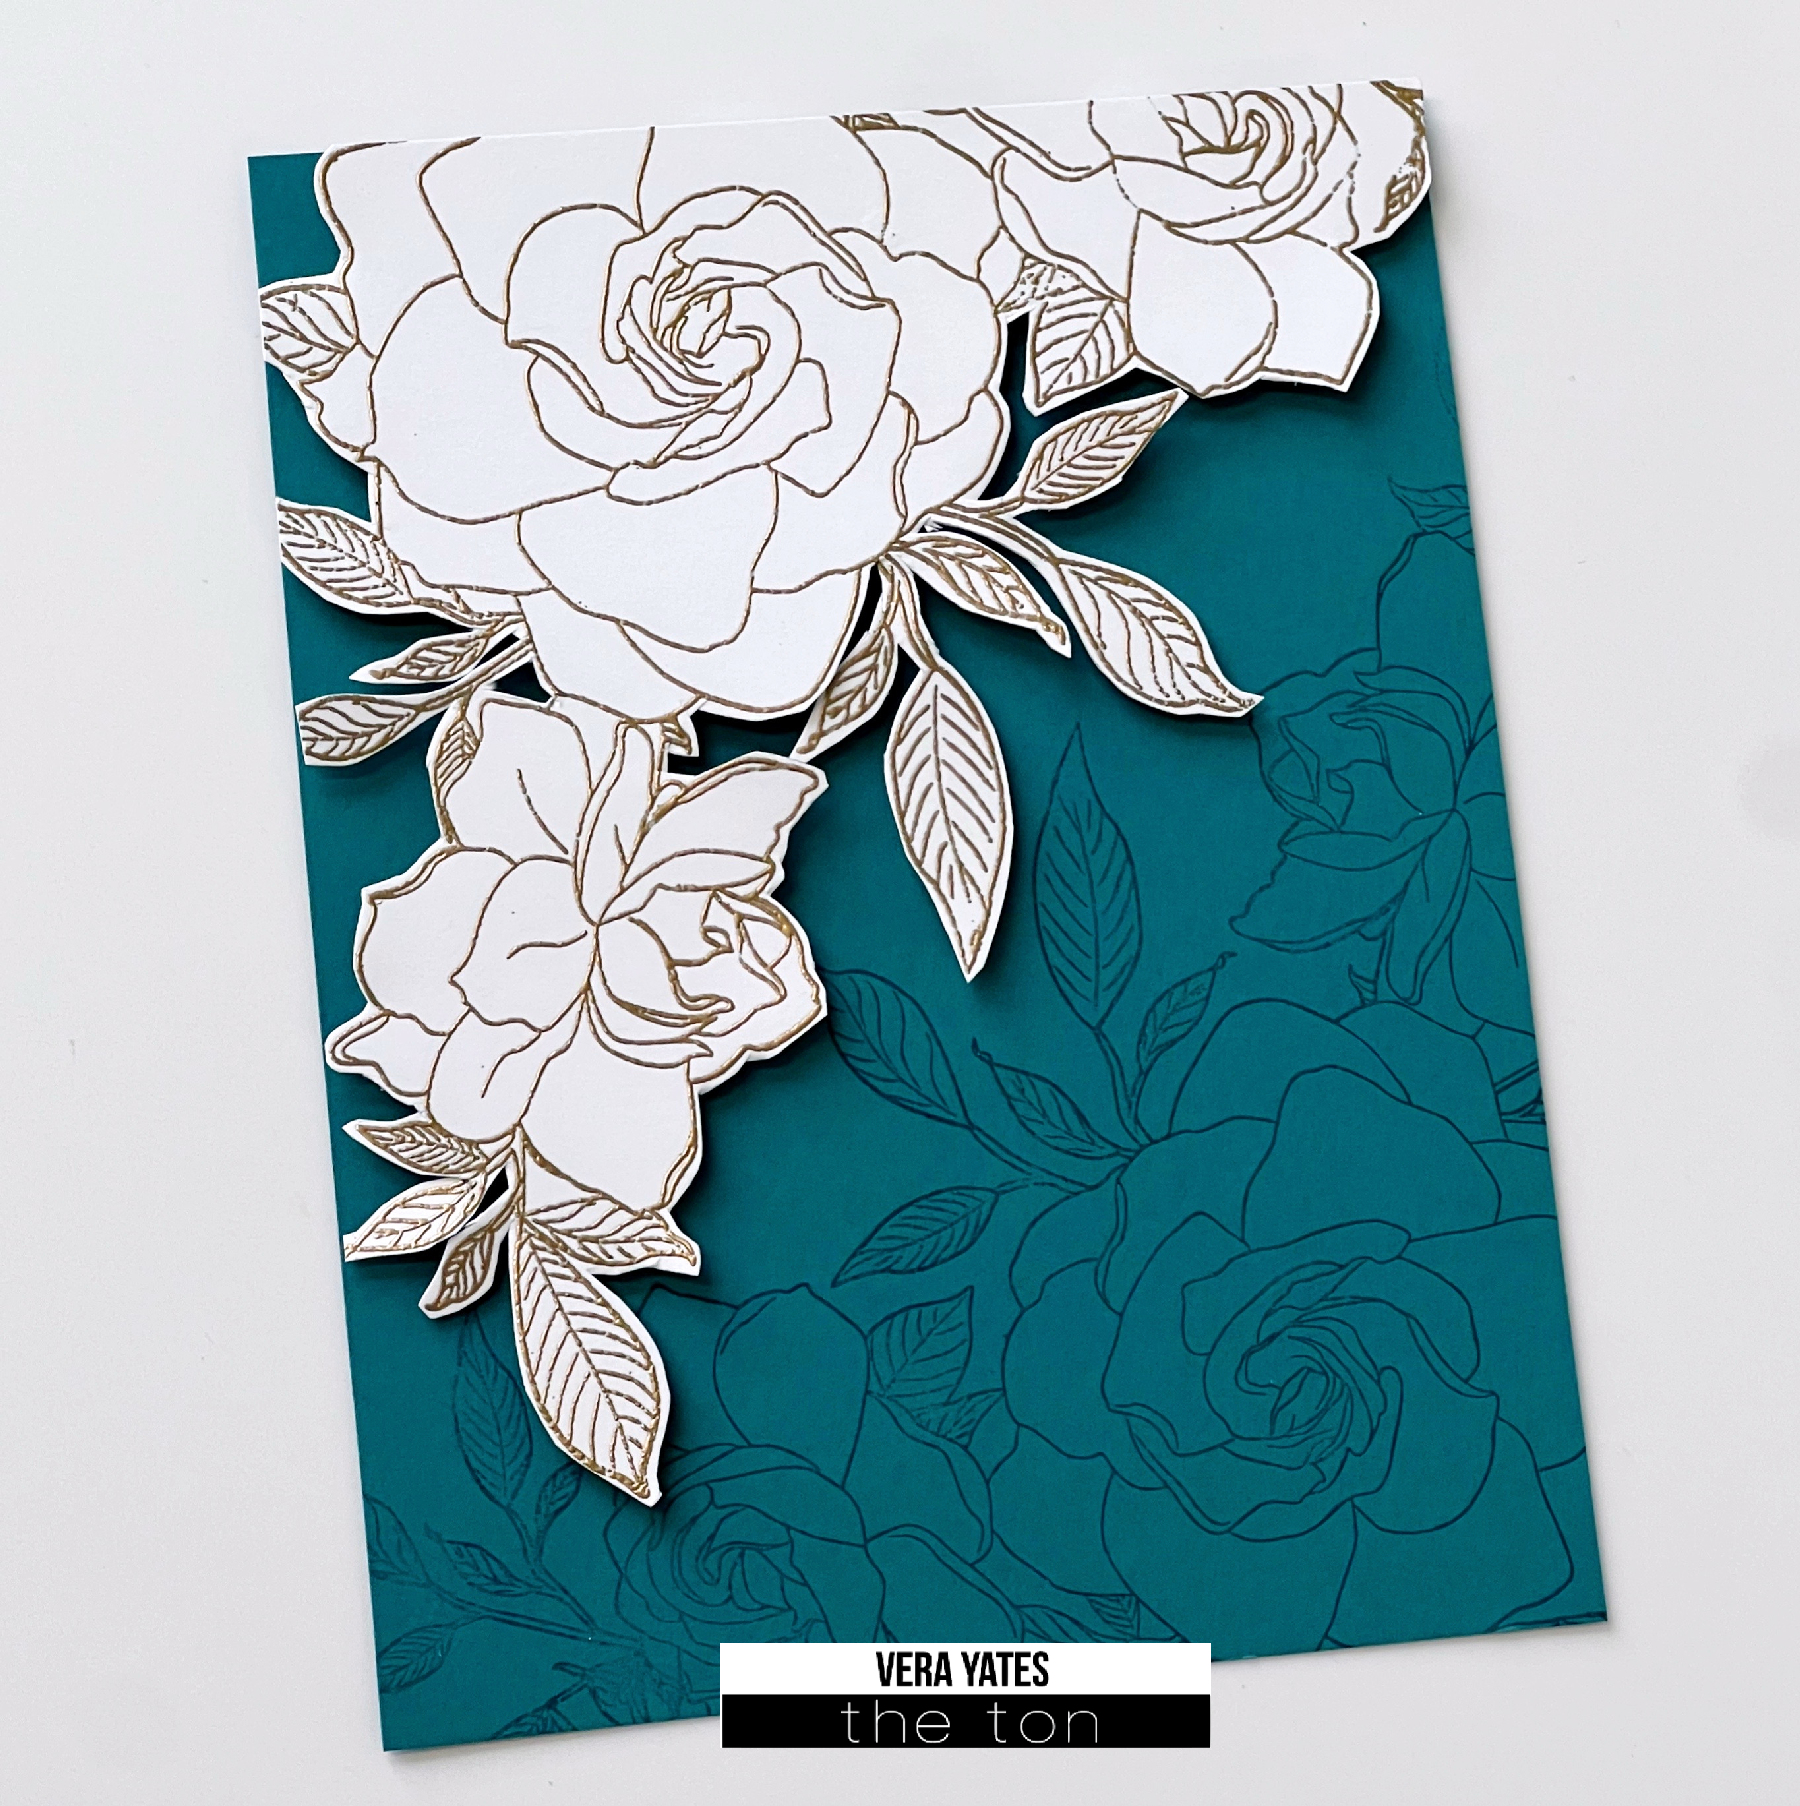
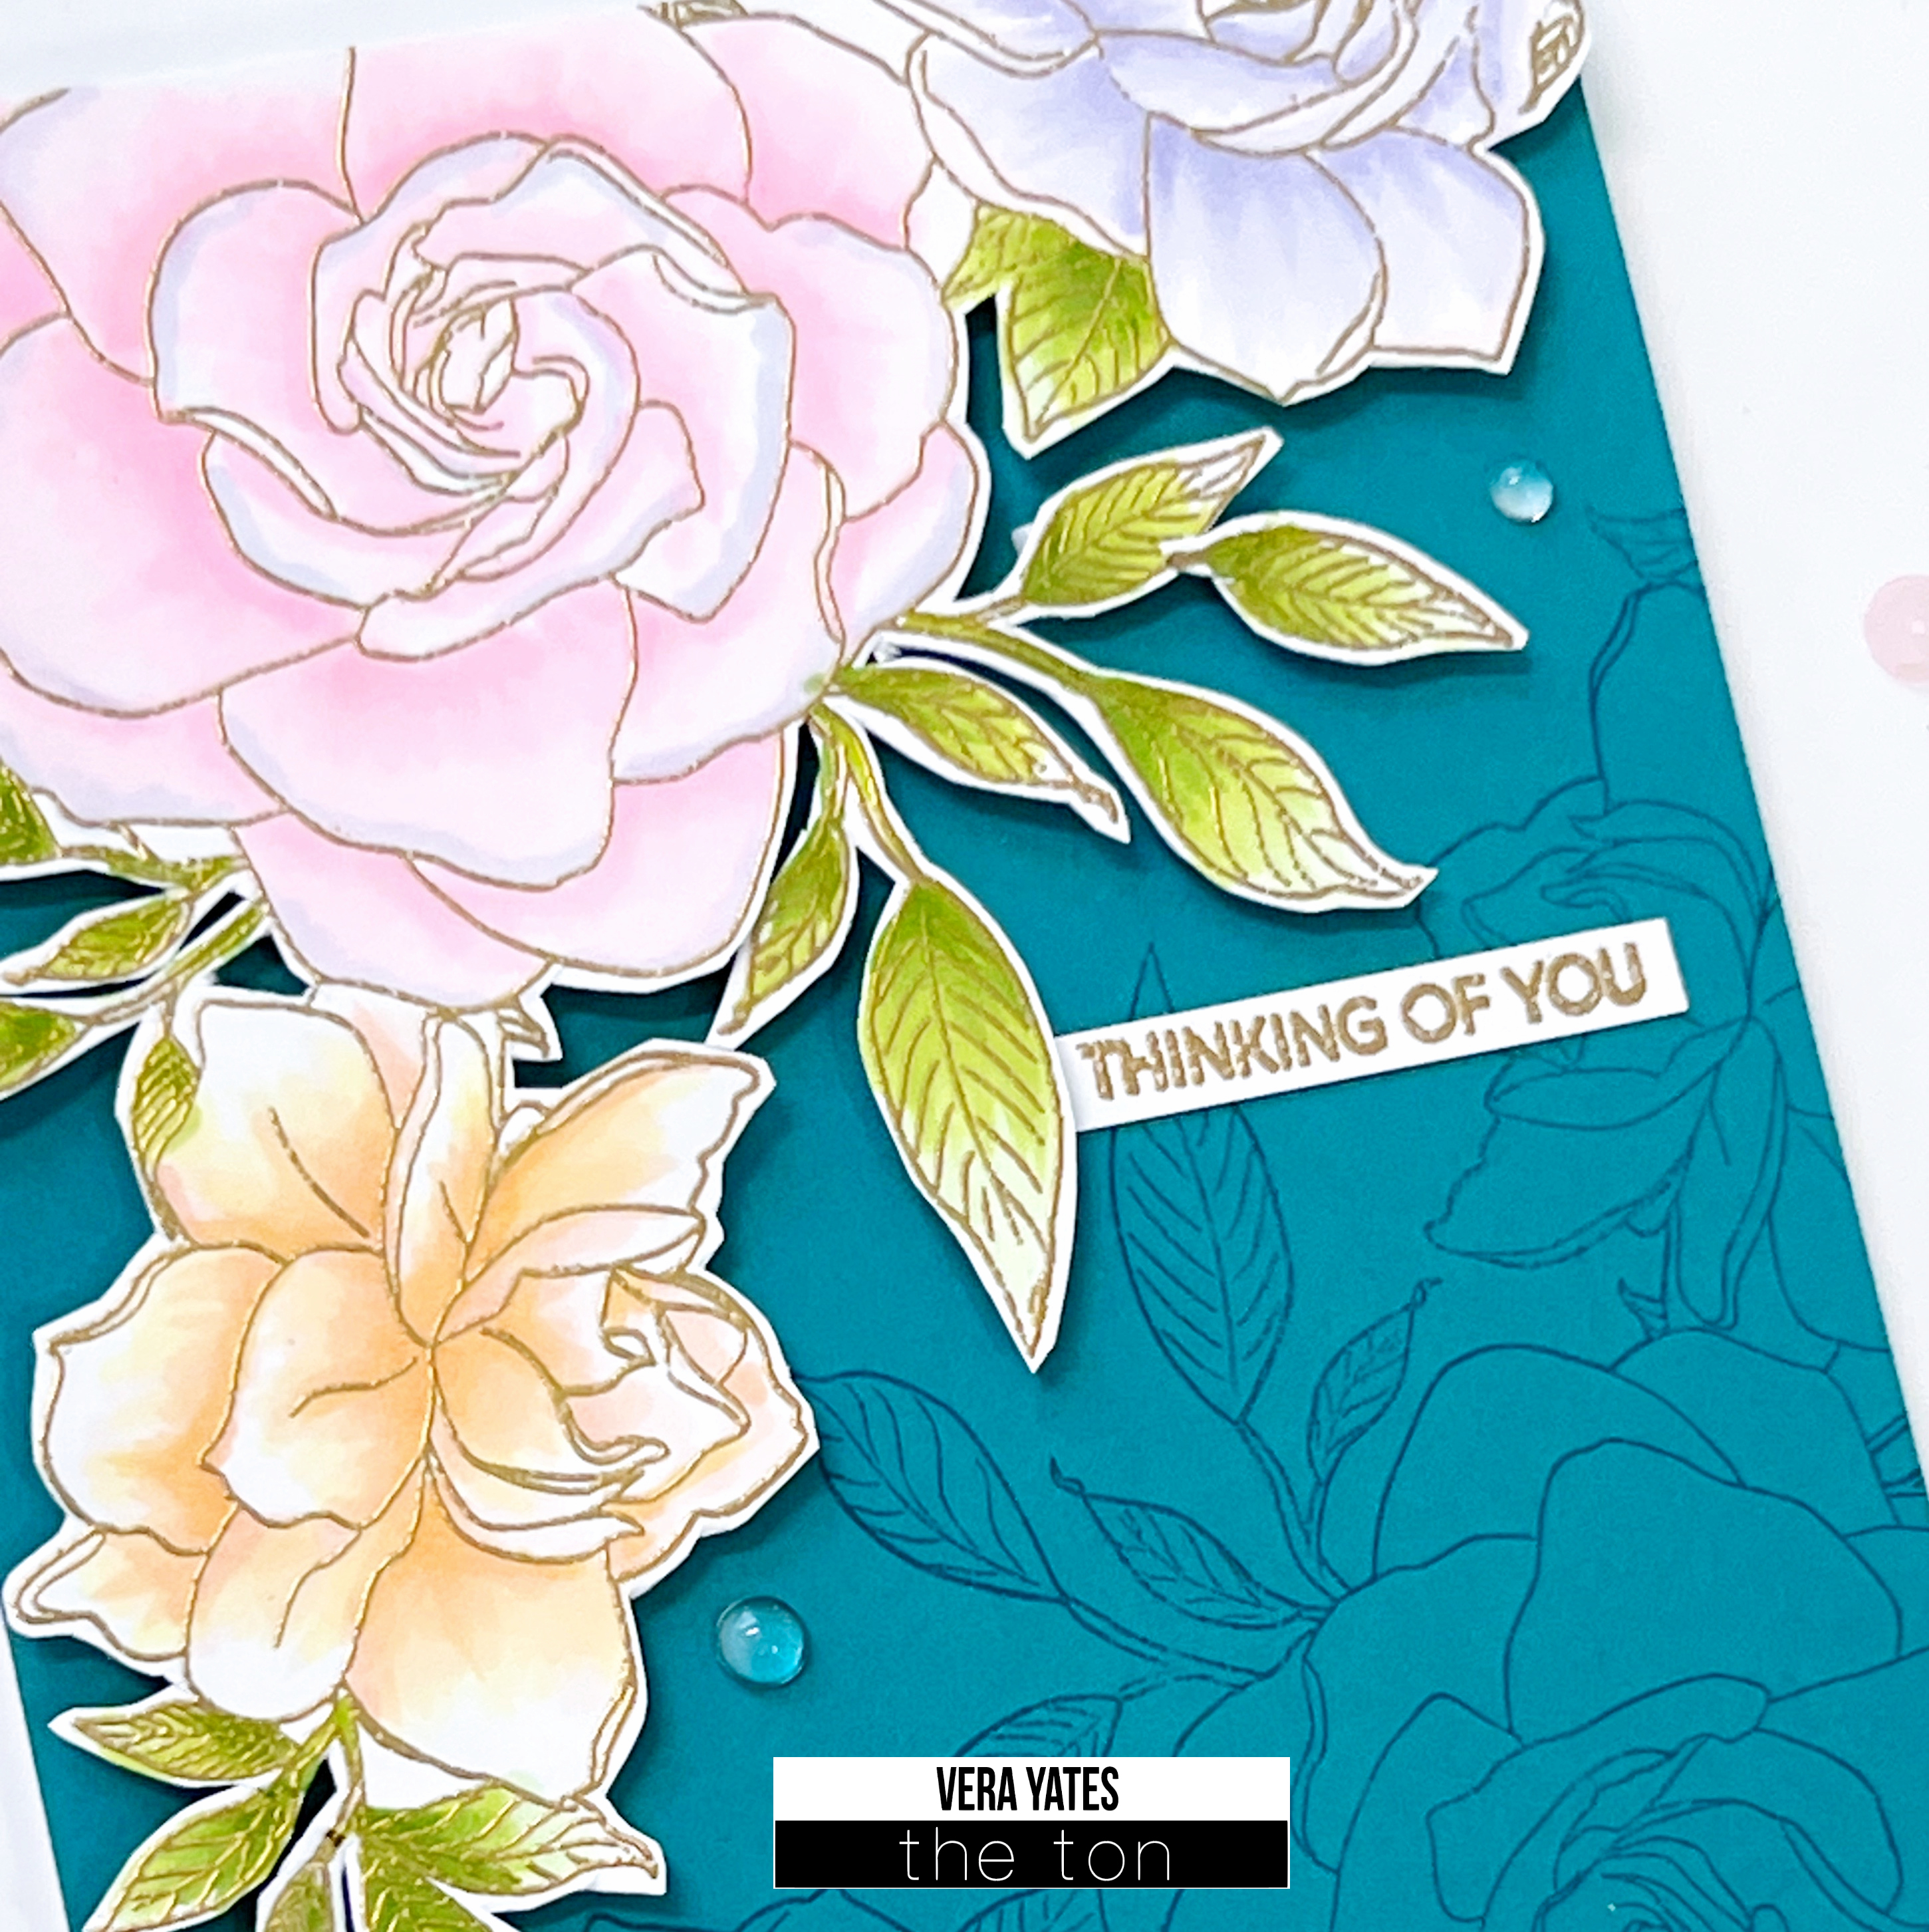
I started by stamping the image on bottom corner of the card base using Hot Tourmaline. Then I stamped the image again on white cardstock, fussy cut it and adhere to card base with foam adhesive. Colored the image with Copic markers.

Once done I stamped and heat embossed one of the sentiment from Large Floral Peony set. Finished by adding some mix size enamel dots.

It sure gives me certain satisfaction at showing love to some older sets. We all have many sets in our stash that we just love. Let’s show them some love. Let’s start a trend of playing and showing older sets some love, shall we? I hope you enjoy today’s set and I hope I also inspire you to go through your stash and get creative with older stuff. Have a beautiful day and try to stay cool as I know many of us are dealing with crazy heat. Till next time.

You Are Amazing

Hi peeps! How’s it going? For those of you that celebrate Christmas, I hope you had a wonderful time celebrating with your loved ones. Hubby and I just had a quiet one with just us and the the puppies. This is literally our first Christmas being home and not going anywhere and it’s actually pretty nice & relaxing to stay in our pjs all day long. 🙂

Anyway, with long weekend, that means time in the craft room. I love The Ton large flower sets, and this Gardenia Wishes is no exception. As usual, I decided to try out unusual color combo. I want to combine soft coloring with bold sentiment.

IMG2798.3
To start, I stamped the flower with Caviar ink, die cut it and then color it with Copic markers.

IMG2798.1
Then put it aside and I work on the card base. For the sentiment I used the Seriously Amazing Sentiments set and stamped it with Italian Denim ink. I love, love the modern look of this set.
IMG2798.2
Once I am done with the sentiment, I arranged the flowers on the card and adhere it with adhesive foam. If you look at this flower on the set, you might notice that it looked slightly different on my card. I trimmed the leaves on the right side and tuck them in on the top left and right of the leaf cluster.

IMG2798.4
Finished by adding some mixed size dew drops. And, that’s it. I think this card would be great encouragement card for anyone who could use a cheer or a lifting up message. I for one, love reminding my friends that they’re amazing just the way they are. I think it’s important for us to lift each other up, be kind to one another, don’t you agree?

Well peeps, thank you for all your support for The Ton throughout 2018. We’re looking forward to sharing more awesome sets with you in 2019!! I wish you all a great New Year and may 2019 be a year filled with blessings and good health for all. Cheers….

Vera

Sending Gardenia Love & Hugs

Hi everyone. Vera here today bringing you a floral inspiration on behalf of The Ton.

I am so in love with the beautiful Gardenia Wishes set and for today card I want to share how I used this set to fill a whole card front.

IMG2755
To start I stamped the image on top left corner and bottom right corner of the panel. Colored with Copic markers. Once that done, I die cut the word love and hugs from Peony Laurel dies set directly on the panel.


IMG2754

I want to make the word popped up a bit, so I die cut the words three more times to create a thick layers.

Now, if you see my panel above, you see I didn’t color the area in between the flowers. Well, after I adhere the panel to the card base, I was adding some shading around the flower and ended up coloring the whole area with super soft green (G0000 in case you’re wondering and G00).

To finish, I stamped the word “SENDING” & “AND” and also added some mixed size dew drops.
IMG2756


Well, I hope you enjoy today’s inspiration. I am scheduling this post in advance as on this date I am scheduled to be in Singapore and seeing my niece for the first time since she was diagnosed with leukemia. Thank God that she’s been responding well to the chemo, but I personally been struggling with the feeling of helplessness of not being able to  be with my family during this time.

So, this short trip means a lot to me. Just to be able to hug her, hug my mom and my brothers. I’ll be back on the States in a few days and sure appreciate any prayers you could send to my niece & for safe trip back for me & hubby. 🙂

That’s all from me today. May your mid week be a wonderful one. Cheers….