Bunny Blooms

Hi all. Vera here today. Since this week still the 1st week of Lunar new year, I want to wish happy Lunar New Year to all that celebrate it. Growing up, it was one of my favorite holiday as we got to visit all our family & friends including those that we didn’t get to see too often. It always bring back fond, happy memories for me and probably one of the tradition from my childhood that I miss. So, to those who celebrate it, I wish you all the best and may this rabbit year brings you good health, prosperity & many blessings.

Okie dokie, let’s get on to card. For today, I am showing love to some older sets. That’s one of the thing I love about The Ton sets, they’re timeless.

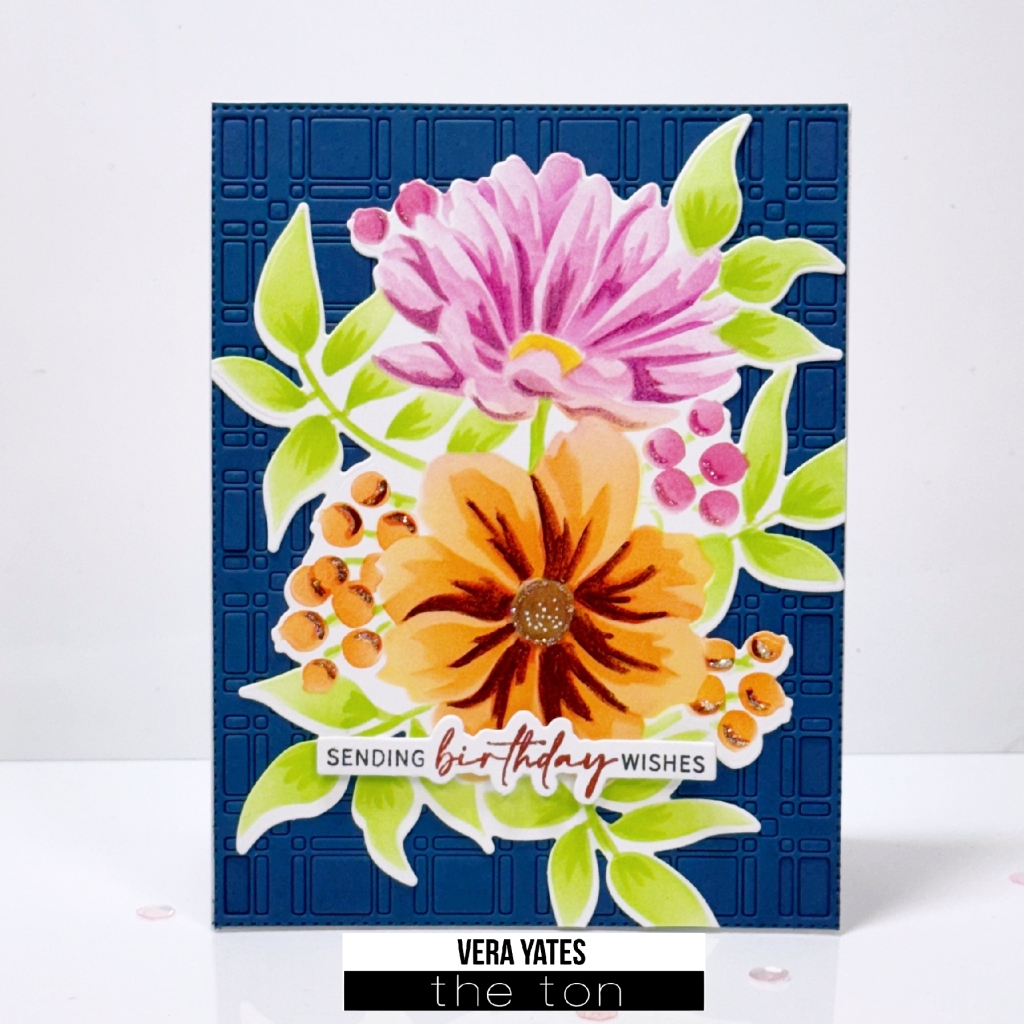
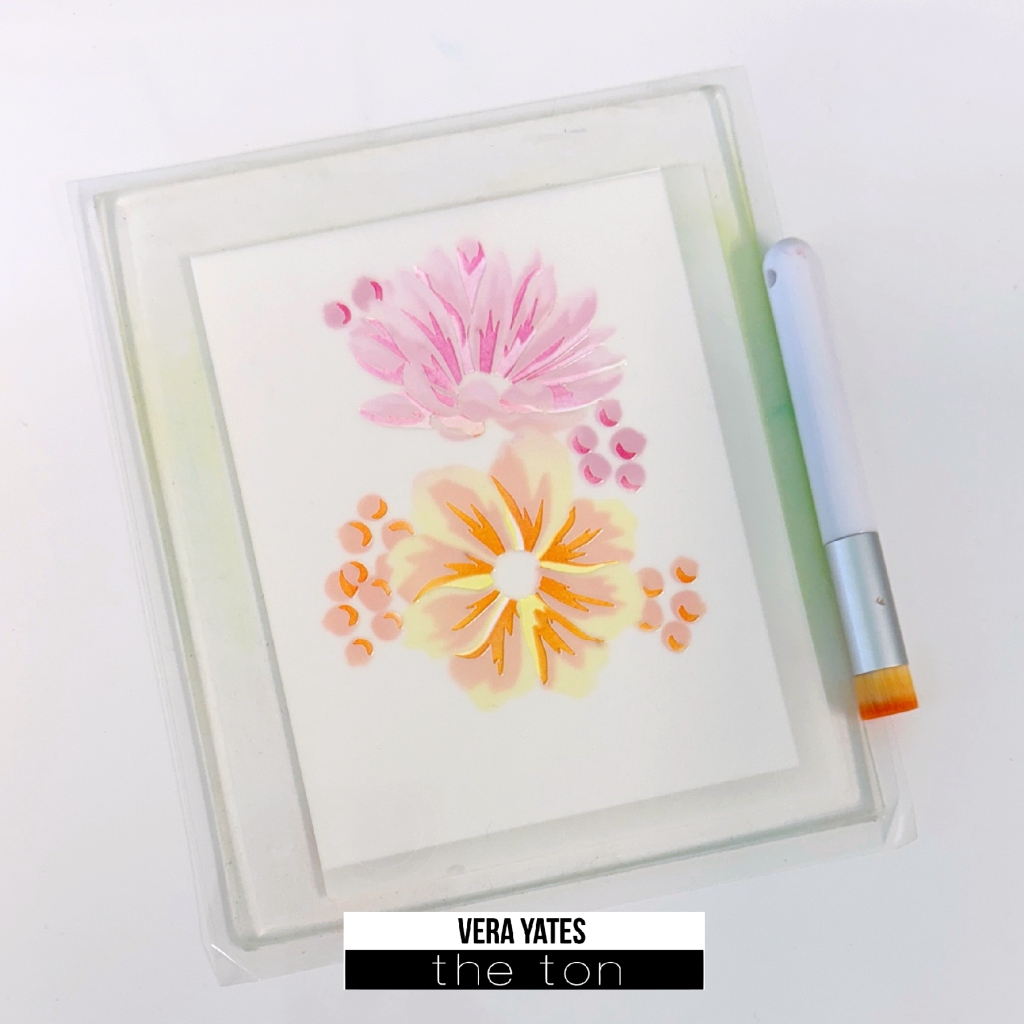
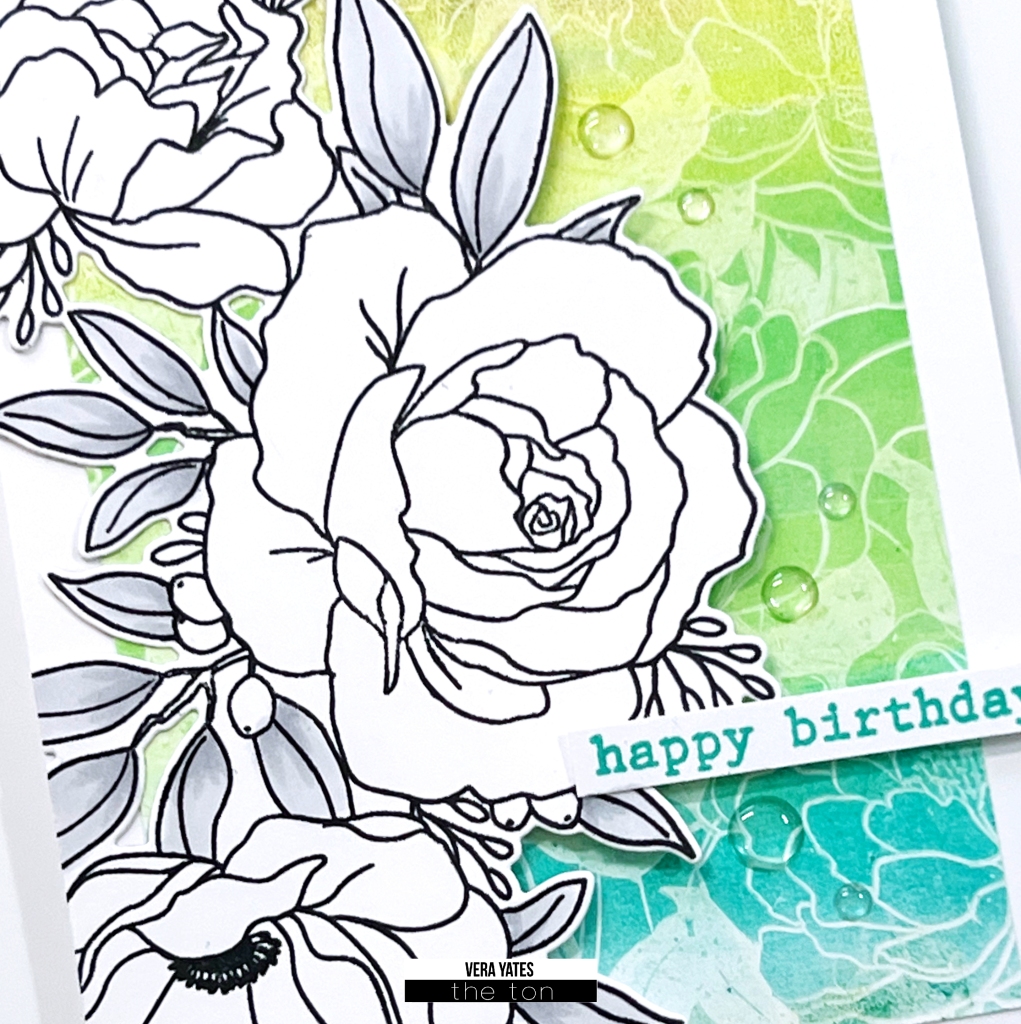
For the background, I am using gel press technique. On the gel block I rub Hot Tourmaline, Evergreen and Lemon Drop ink pad and then even up the colors by running the brayer on top of it. Then, I laid Peony Crush Cling Background Stamp on top of the gel block. Gently lift up the stamp so the image on the gel block doesn’t get smudge. After this I laid a piece of cardstock on top of the gel block, press gently, lift up the cardstock and I end up with the background panel above.

Stamped the image from Bunny Blooms set and die cut with Bunny Bloom Coordinating Die. Since the background already quite colorful on this image I only added some gray shade to the leaves and leave the flowers uncolored. Adhere to card with foam adhesive and added the sentiment from the same set. Finished by adding some Dew Drop Clear Enamel Dots.

I hope you enjoy today’s card. That’s all from me today. I am pretty whooped as I am battling a flu/cold at this moment. I wish you all a lovely day.

Birthday Iris

Hi all. Vera here. It’s still January, so I can still wish you all a very happy New Year. I was lucky to start this new year with my family back in Singapore where we gather to visit my niece who we all haven’t seen for a while due to the pandemic. It was such precious moments for me to able to hug and hangout with my family. Hoping that we can do this more often for sure.

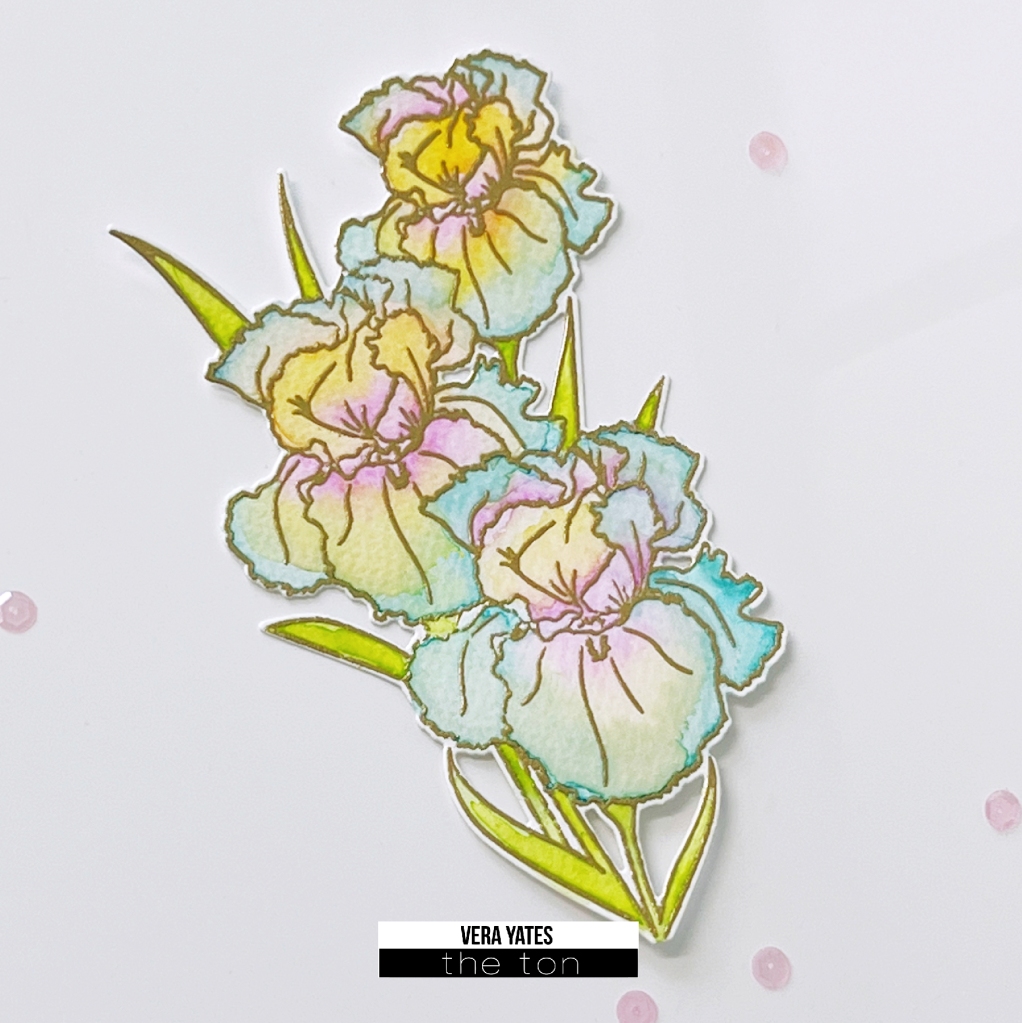
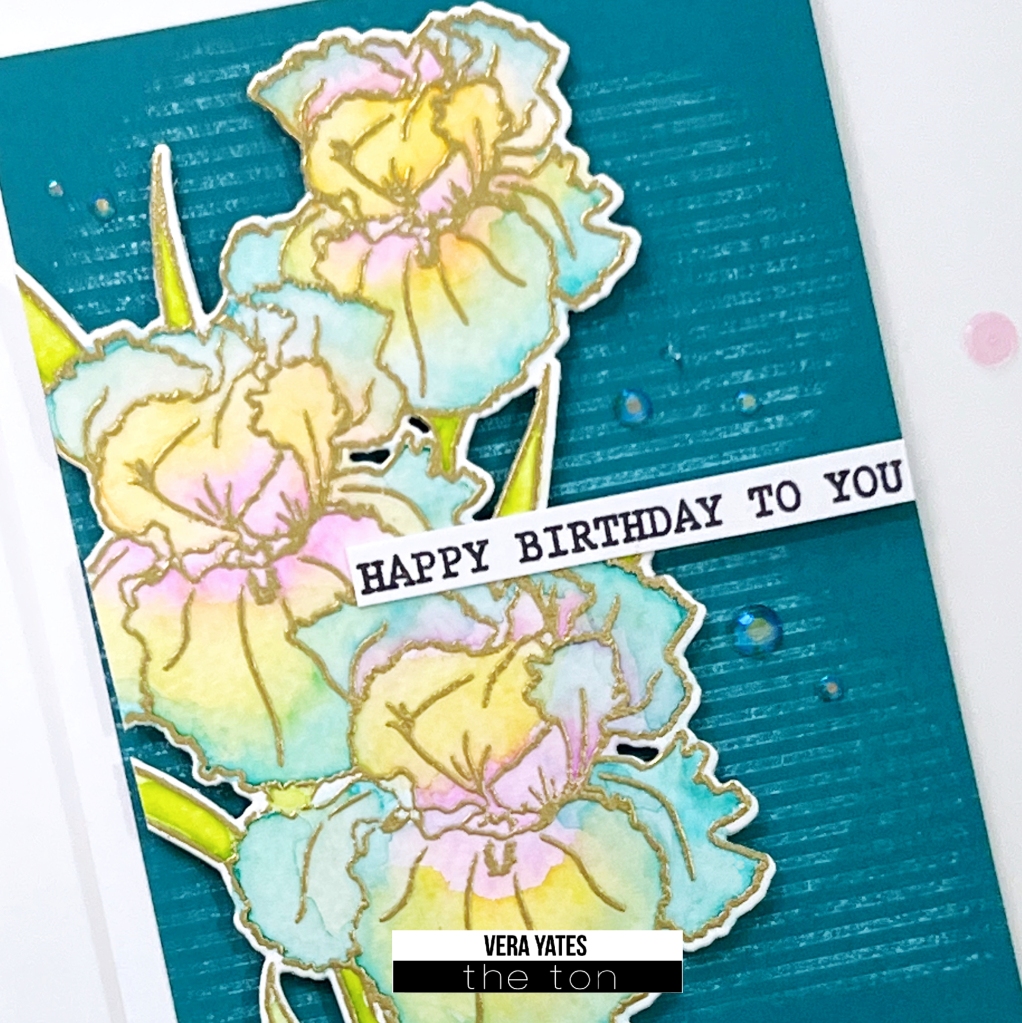
Card making wise, this is my first card of the year!! I decided to play with some older sets that I just absolutely love. Here, I am using Climbing Iris.

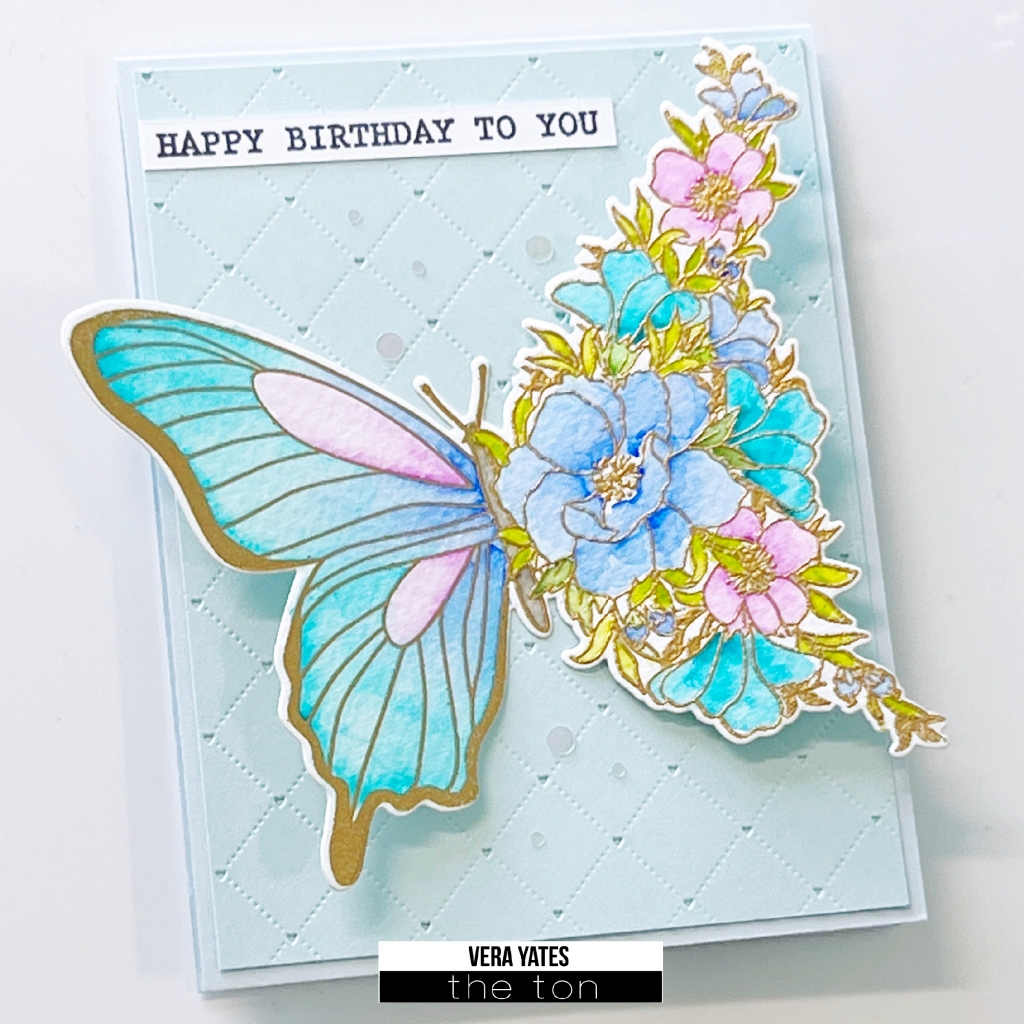
I stamped and heat embossed the image on a piece of watercolor cardstock. Then colored the image with watercolor and let dry. Once dry, I die cut the image with Climbing Iris Coordinating Dies. Put aside.

For the background panel, I used Minor Stripes Cling Background stamp. I stamped the background stamp randomly with white ink pad. I want to have the rustic look, so on purpose I tap the ink pad lightly, so when I press the cardstock to it, it has softer result, not so solid. Trim the panel and adhere the flower with foam adhesive. For the sentiment, I used sentiment from Heartfelt Blossoms and finish the card by adding Crystal Clear Rainbow Rhinestones.

I feel just slightly rusty as I didn’t craft for a whole month. But, I guess it’s like riding a bike, you never really forget it. It feels great to craft again. Well peeps, that’s all from me today. I wish you all the best for 2023. May this year brings us all good health, blessings and many joyful moments. Cheers to you all.

Birthday Peonies

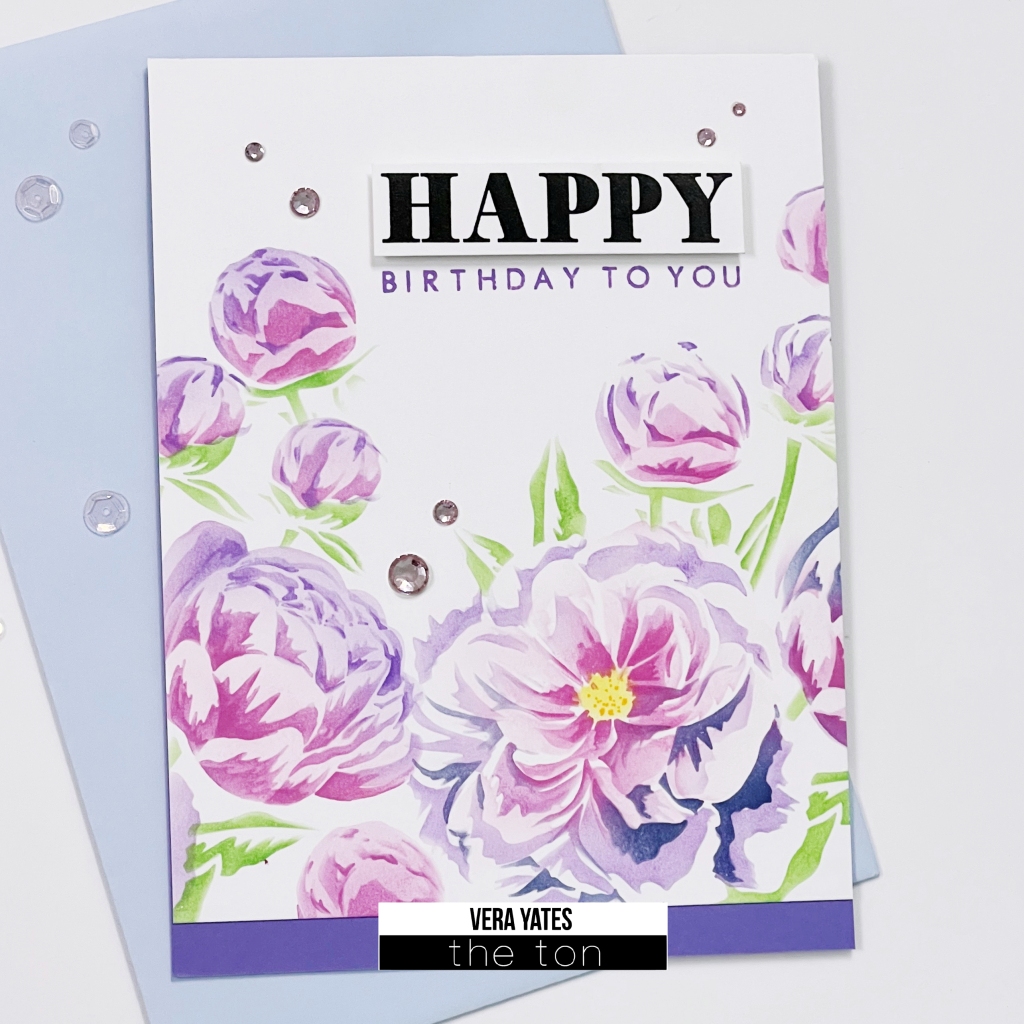
Hi peeps. Vera here. Today, I have a couple birthday cards to share with you all using the lovely Climbing Peonies set. Am so excited the way my cards turned out as it came out exactly the way I envisioned it. Let’s see the 1st card, shall we?

I wanted to showcase way to get more from your stencil. I noticed that I have tendency to use stencil the way it laid out, but we can totally get different design from it if we just lay them in angle or multiple angles, which I did here. For this card, I angle the stencil on the right corner and as I change layer, I carefully lay the next stencil on top of the first one, before gently remove the bottom layer, this way I don’t loose my placement for the layer. The colors I used on my card at Deep Peony, Iris Blooms, Italian Denim, Lemon Drop & Evergreen. It looks like I used more than these colors, but I really just varied the pressure and load of the ink on my blending brush. Once I am done with t he right side, I moved the left side and ink up the stencil on that side. Once finish, I trim the panel and adhere it to card base. For the sentiment I used the sentiment from Grouped Fresh Daisies. I made a booboo when I stamped the word happy, so I simply stamp it again on a strip of cardstock and adhere it with foam adhesive. Extra layer, why not? Top it off with some Soft Pink Rhinestones.

Since I was on a roll, I decided to make another card and this one with just the standard way of laying the stencil straight on the panel.

Quick stenciling with all the same colors on previous card and same sentiment set. One stencil set with two pretty different results. Pretty satisfying in my opinion when I can complete 2 cards in 1 seating. Hah!

That’s all from me as I am still recovering from having Covid. Am still going through that Covid fog, where now & then I feel like my head or my vision kind of off. Luckily no more headache, which is a big blessing. Anyhooo, my body is telling me more rest still needed. So, I better sign off.. Wishing you all a wonderful weekend. I know, it’s only Friday, but hey it’s almost there. Cheers peeps! And make today a happy one.

Sending Peony Love

Hi peeps. Vera here. This week been a rough one for so many people and I keep reminding myself that we all need love in this world. And we can all start with the people around us. I feel like mailing an actual card, letter is a dying art. We really need to do it more. Sending out card just because, on our loved ones special day, on any day because more than ever we need to spread love. Show love. Share love.


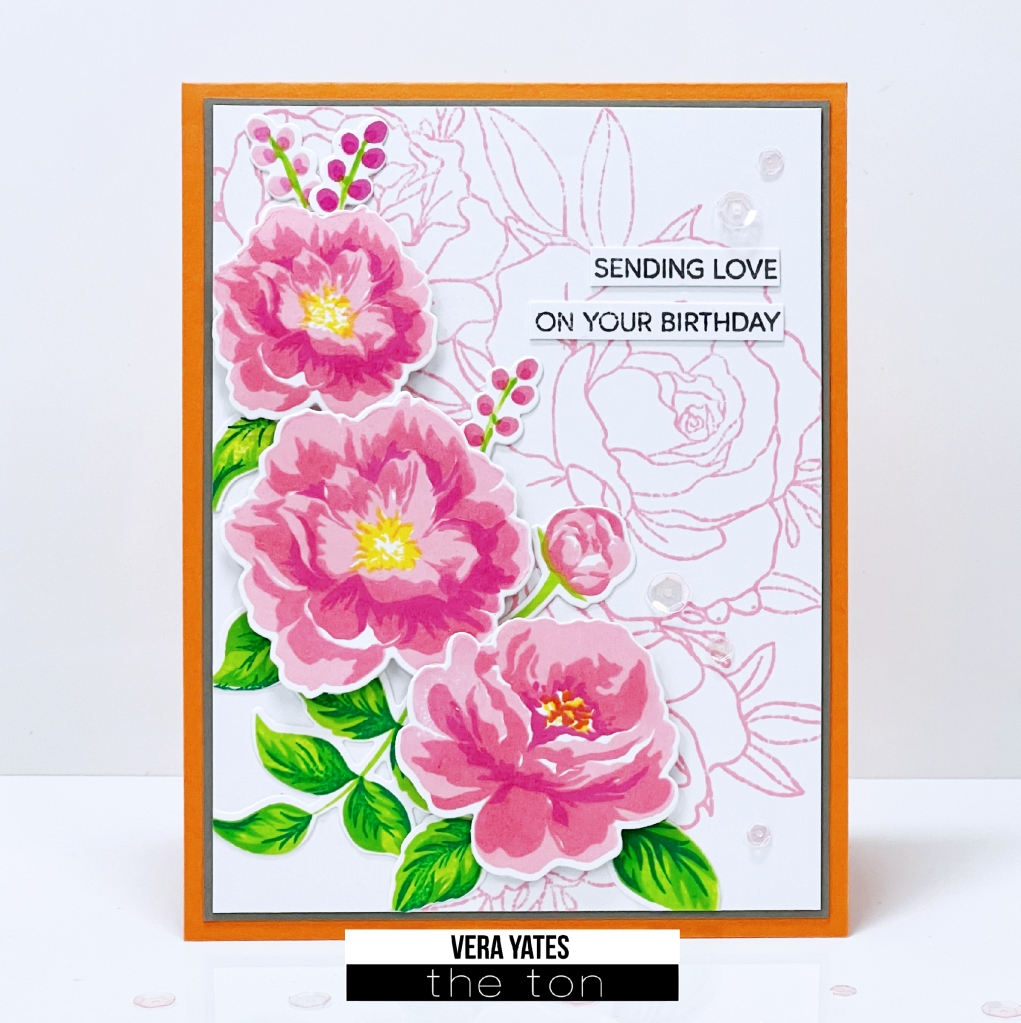
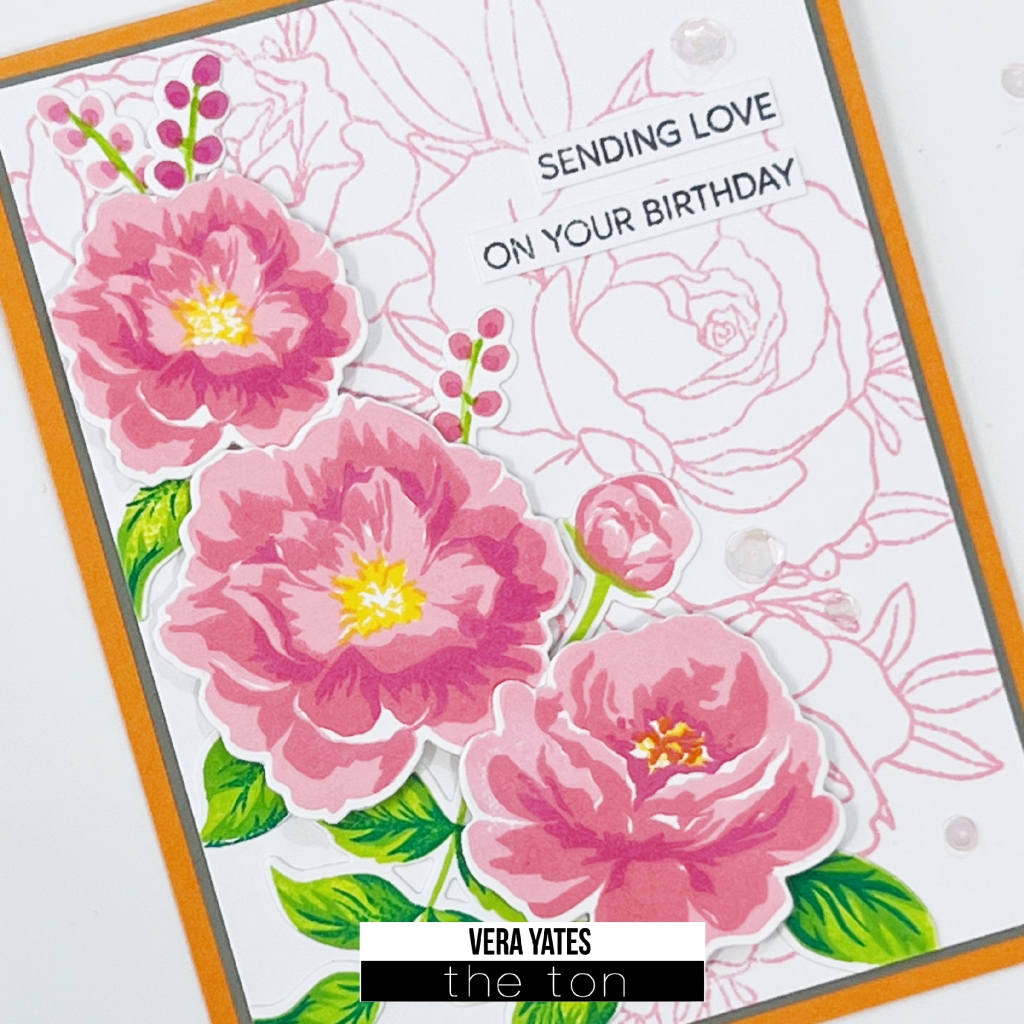
For my card here, I used Peony Memories Cardmaking set. I stamped this beautiful set with Bubblegum, Soft Garnet, Deep Peony, Lemon Drop, Soft Garden, Meadow and Deep Emerald ink pad. Finished stamping, I die-cut them with the Coordinating Peony Memories Cardmaking dies. For the background, I stamped the flower from Bonny Blooms set with Bubblegum inkpad. Trim the panel and layered with gray cardstock before adhering them to the orange card base. Then arrange the peonies on the card and adhere with foam adhesive. Finished by stamping the sentiment and adhering some sequins.

I am definitely planning on getting my stash of cards out. I’ve been giving cards away to people at my church small group & will definitely keep spreading more love through my cards. May your weekend be a good one. Let us always be kind to one another. Cheers…

Birthday Peonies

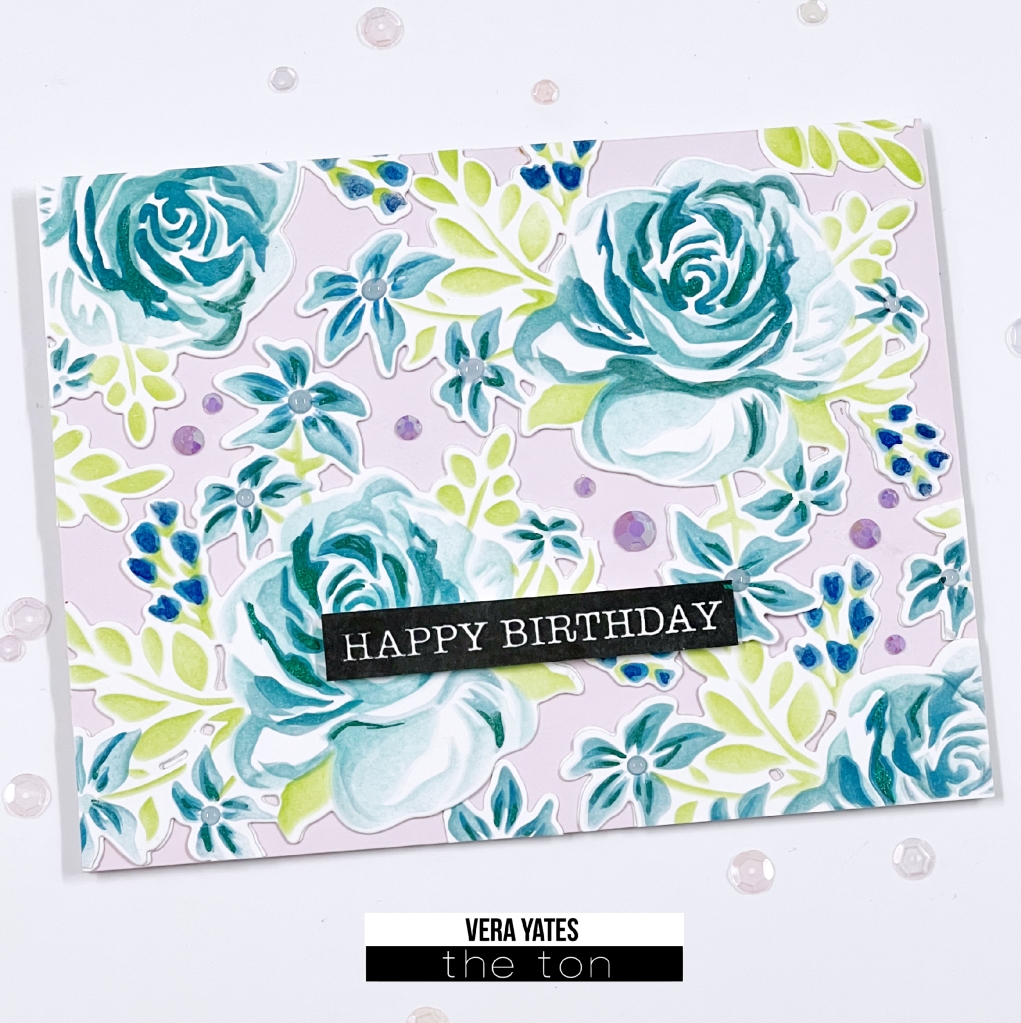
Hi all. Vera here. For today’s card I am showcasing one of my favorite stencil set the Peaceful Peonies.

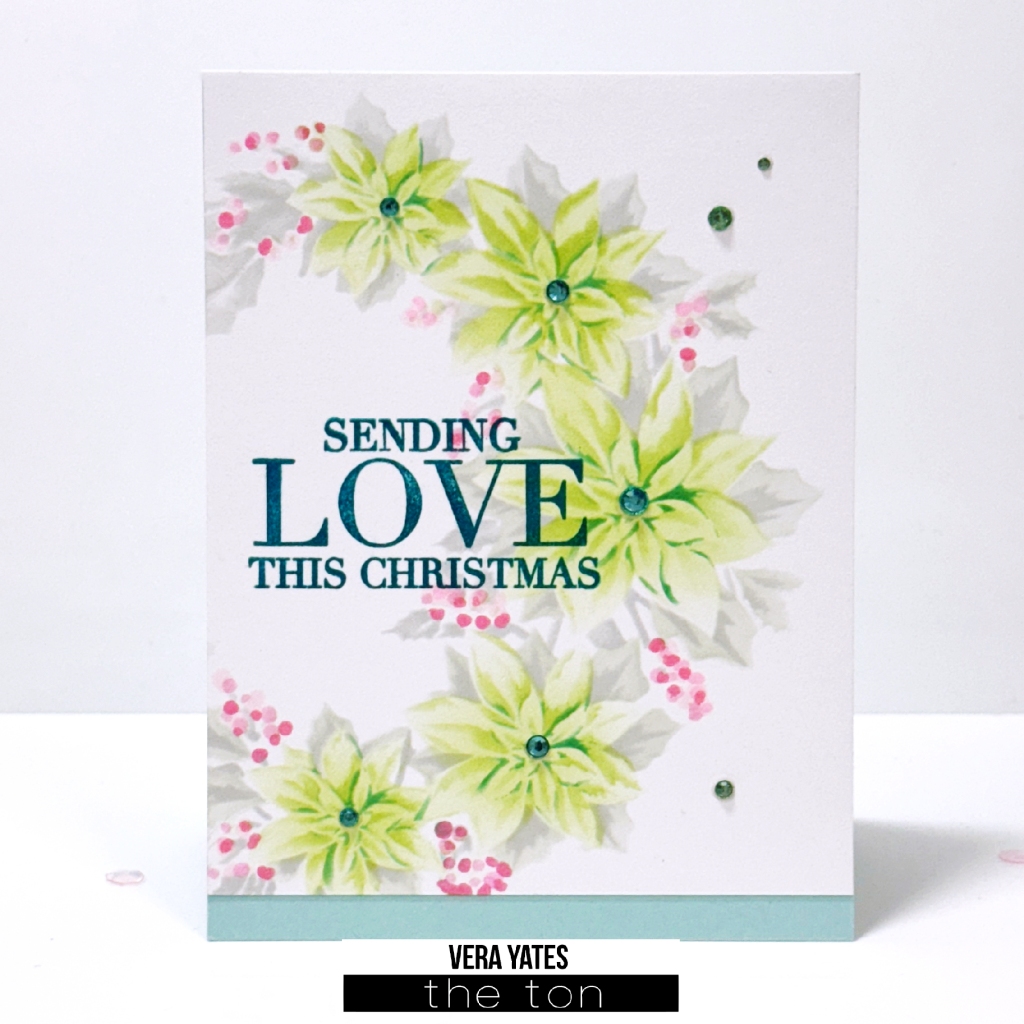
Lately, I find playing with stencil as calming & therapeutic. No surprise there as I always love playing with colors. For this card, I started by blending Meadow for the leaves and Bright Emerald, Caribbean Turquoise, Ocean Teal for the flowers & Parisian Blue for the buds.

It’s actually pretty just the way it is, isn’t it? Well, after I was done with stenciling I decided that I didn’t want to use the white background. So, I die cut this panel using the Peaceful Peonies Coordinating die and even went a bit further by cutting the pieces apart so I can rearrange the flower position on my card base.

Once I finished adhering all the pieces, I add the birthday sentiment from Rose Labels set and added some Dark Purple Opaque rhinestones. To finish the card, I added some metallic glimmer water color (you can see the pretty shimmer on the video that I’ll post on my Instagram account HERE. On the upclose of the card below you see the metallic color just as dark colors, but on the short clip on IG as I moved the card you could totally see the pretty shimmer of the colors. So, check it out there please. 🙂


Well peeps, that’s all from me today. Hope you’re having a beautiful day. Cheers….

Have A Wonderful Day

Hi all. Vera here today, posting the last post for 2021. Let’s end the year with some beauty, shall we?

For today, I decided to play with older sets as I want to show them some love. 🙂

To start with, I ink blending Cali Blu, Matcha, Lemon Drop, Coralline and Dolled Up on a panel of cardstock. Once I am happy with the blending, I trim the panel smaller. Next I used an old Peony cling background set that I believed already discontinued. But, pretty much you could use any of The Ton cling background set. I laid the panel next to the stamp, so I can kind of estimate where to lay each color. To keep the color soft, once I dab the ink, I dab the blender brush on top of it to pick some of the extra ink. Laid the panel on top of the cling stamp. Apology in advance that the pic below came out blurry. When I looked on my phone at first it look clear, only when I upload it to my computer that I realized it’s blurry, but this is the only pic I have before I put the card together.

Next, I stamped and die cut the flowers from Today’s Cosmos and Delightful Wildflower. With the colorful background, I keep these flower and leaves just the way they are, no colored. Sometime less is more. To finish, I used one of the sentiment from Easy Expressions and add some Dew Drop Clear Enamel Dots.


I am really happy with the way this card turned out. I guess rainbow colors always make me happy. Well peeps, that’s all from me today as we close out 2021. My wish for you may 2022 be filled with rainbows and may it brings you good health, prosperity and joy. Have a blessed year, everyone. Cheers….

Slimline Floral Birthday

Hi peeps! Vera here today. Let’s start this week with flower inspiration, shall we?

I am super happy with my card today. When I saw the slimline dies sneak peek, the dainty Scalloped Nested Dies definitely caught my attention right away. Dainty scallop is one of my favorite, whether it’s a border or frame, in my book it just make any design sweeter.

To start, I used the Scalloped Nested Dies on a piece of gray cardtock. Next, I used the Grid Coverpate Dies and trim it to fit inside the scalloped frame. Adhere both panels to card base.

Next, I stamped (with Caviar ink), colored and diecut the lilies from Coming Up Lilies. Still love this set to this day. I added some metallic watercolor to it and it has really pretty shimmer. Under good lighting you can really see it, but on normal light, it’s very subtle.

I finished the card by adding sentiment using Easy Expressions Birthday stamped in Noir and Hot Tourmaline.

So, are you into long cards? I have randomly making them here and there, but seems like right now it’s really the trend. I do enjoy the break of creating with longer space as I always believe in creativity changes or trying something different is a good way to expand our creativity.

Well peeps, that’s all from me today. May your week starts off wonderfully. Cheers…

Vera

Layered Floral Alphas Birthday

Hi peeps. Happy Friday. Vera here.

I am excited to share today’s card as the idea for this card been swirling in my head for a while.

IMG3011.2
For this card, I want to have a soft background and after going back and forth on several image, I decided to go with Transformation. I can honestly say this is one of my all time favorite set from the Ton.
IMG3011.1
Adhere the panel to the card base. Next, I stamped all the layers from Layered Floral Alpha Stamp Bundle and die cut the alphabets using the matching Layered Floral Alphas Coordinating Coverplate. I love that I ended up with enough alphabets to make a few cards. At first, I was going to arrange them straight, but then I realize the stagger look would make it more interesting.

For the word happy I partial stamped the happy birthday sentiment from Macarons set. And, of course, I have to add some mix size dew drops to finish the card.

IMG3011.3
I am very happy with the way this card turned out. It’s soft looking, totally my style. What do you think of this Layered Floral Alphas set? I for one looking forward to play more with this set and create different look simply by changing the color I used. So fun!

Well peeps, that’s all for me for today. Hope you enjoy today’s card and may your weekend starts off wonderfully. Cheers y’all!

Vera

Wildflowers Washi Tape

Hi peeps! Yay for Friday. Vera here to bring some more washi tape inspiration. What can I say, I just love playing with them. Who doesn’t love playing with pretty things, right?

Today I am showcasing Wildflowers washi tape.

IMG2842
For my 1st card, I adhere the washi tape to a piece of soft green cardstock. The beauty of washi tape, you can change its look by the base color you used. Then I die cut the wishes sentiment on the panel using Bold General Greeting Word Plate diesThen, die cut the sweet sentiment from Sweetheart World Plate dies set. Adhere panel to the crd base.

Die cut the wishes sentiment 3 more times from white cardstock to layer the sentiment to make it stand out from the rest of the panel. Die cut sweet sentiment again from gold foil cardstock and adhere to the card. Finish by stamping, heat embossed & die cut a butterfly using Beautiful Butterflies 1 set (adhere it with foam adhesive).

Now, on to the 2nd card. I was inspired by Effie’s card during the release (you can see the post  HERE)

IMG2843
I adhere the washi tape to a piece of  cardstockand then fussy cut it. Before adhering it to the card base, I blended some Rose Quartz ink to the card base. Then I partially ink up the Mini Hearts Cling Background stamp and stamped the corner of the card for a bit of accent. Adhere the cut out, stamp the sentiment from Dearest Peony set and finished by adding some Rose Champagne Sparkle sequins mix.

Well peeps, that’s all from me today. It’s been a pretty crazy hectic week for me, so I sure am looking forward to a quiet weekend to just chill with the doggies. Hope you enjoy today’s inspiration. Have a fabulous weekend everyone! Cheerrrssss……

Birthday Lanterns

Hi peeps. Vera here today with a weekend inspiration from The Ton.

I got to say that from the recent new release, the Special Day Lanterns is one of my favorite. I actually finished today’s cards a couple weeks ago, because I just wanted to keep playing with it.

First, up is this pink card.

IMG2819.1

For this card, I started by stamping the lantern with Caviar ink pad on a panel of white cardstock. Then I stamped all the other images using Peach Blossom, Hollywood Star, Soft Garnet, Lemon Drop & Arctic Sky.

After stamping all  the images, I felt it was a bit flat & I always like extra dimension, so I stamped & die-cut one of the lantern using the coordinating Special Days Lantern dies set and adhere it to the panel with foam adhesive. Somehow this little change make the card more fun in my opinion.

IMG2819.2

For the sentiment, I used the birthday sentiment from Toned Squares set. After making sure I am happy with the way it looks, I trimmed the panel and adhere it to the card base. Finish by adding some sequins mix from Pink Diamond Couture Mix.

Now, funny story on the next card. It supposed to be my original card for this post. I almost done with it and decided I messed it up when I added the border on the bottom & I wasn’t too happy with the color combo. So, I was going to throw it away. I started the pink card and change the color theme, the whole nine yard.

Well, cleaning up the table & about to toss this card, looking at it again, I ended up changing my mind, thinking that’s it’s not bad after all. So, I finished it & here it is.

IMG2820.1

Pretty much, same step as the pink card. This card is a tall card though, measured 3″ x 6.5″ . For the bottom border I partial stamp the frame from Pretty Mail set. Seriousy, when I first stamped it, I was like, darn it I went too far. The card now looks to busy. A couple hours later, I think differently. Hah!

IMG2820.2

I finished this card by adding some mixed size dew drops. And the sentiment is from Dearest Peony set.

So, does that ever happen to you? Where you’re going to trash a project & decided to continue & keep it after all? Part of it starts because I am big time into recycling & not being wasteful. So, that part of me, guilt trip myself for throwing good piece of cardstock & force me to really look at it & see if I can save it. I have to say at the end it turned out pretty good after all.

Well peeps, that’s all from me & my method of madness for today. I hope you enjoy today’s projects. Thank you for swinging by here and may your Thursday be an awesome one. Cheers….

Vera