Hello, crafty friends! It’s Jenny here taking over the blog today and I have 4 floral cards to share all in Turquoise & Black color scheme. I thought this color combination would be so elegant for our gorgeous florals and I am super excited how they turned out!
Here’s the 1st card!

To start off, I stamped our Country Rose stamp set on Bristol Smooth cardstock in Noir Dye ink multiple times, and I quickly heat embossed the image with clear powder. Then, I colored in the image with Dark Gray, Black, Persian Green, and Turquoise Green Zig Clean Color Real Brush Markers, blending out the colors with Aquash Brush. I let it dry completely and die cut it out with the Coordinating Die. I also heat embossed the sentiment (from Basic Banner stamp set) on a black cardstock, turned it into a thin banner and put it aside.

I ink blended our Caribbean Turquoise Dye ink on a white A2 top folding card base from bottom up to created a gorgeous Turquoise background. Next I popped up the Country Rose die cut and the sentiment banner strip on the card and finished the card off by adding some Glass Slippers Sequins.
Here’s the 2nd card!

I heat embossed our Celebration Rose Cluster stamp set and colored exactly the same as the first card. I die cut the image out using the Coordinating dies. I also stamped the sentiment banner from our Basic Banner stamp set on a white smooth cardstock in Noir Dye ink and die cut it out using the Coordinating Dies.

Next I went ahead and die cut a black cardstock with our beautiful Geometric Lattice Coverplate Die and adhered it on a black A2 top folding card base. Then I placed some Silver Thread in the middle, popped up the floral die cut at the sentiment banner. I finished the card off by adding some Glass Slippers Sequins.
Here’s the 3rd card!

I stamped the smaller floral images from our Pretty Plumeria Stamp set on a Bristol Smooth Cardstock in Noir Dye. I stamped it multiple times using the Mini MISTI tool and quickly heat embossed with Clear powder. I colored the image using the Dark Gray Zig marker and cut it out with the Coordinating Dies.

Next, ink blended a white cardstock in our Caribbean Turquoise Dye ink and die cut it out with the Geometric Lattice Coverplate Die. I adhered it on a black A2 card base and wrapped and tied some Black Thread around the card. Then I adhered the plumeria die cut images on the card, some popped up with foam tape. I also adhered the sentiment from Basic Labels Stamp set and dressed up the card with some Glass Slippers Sequins to complete the card!
Last but not least, here’s the 4th card!

I started off by working on the florals exactly the same was as the 3rd card using our Thankful Chrysanthemum and the Coordinating Dies. I also stamped and die cut the sentiment banner using the Basic Banner stamp set and the Coordinating Dies. I put them aside for later.

Next I ink blended Caribbean Turquoise Dye ink on a Bristol Smooth cardstock and die cut it out using the largest layer from our Large Double Stitched Rectangle Dies. I also splattered some Black ink, let it dry, and I adhered the background panel on a white A2 card base. I adhered rest of the elements on the card and finished the card off by adding some Glass Slippers Sequins.
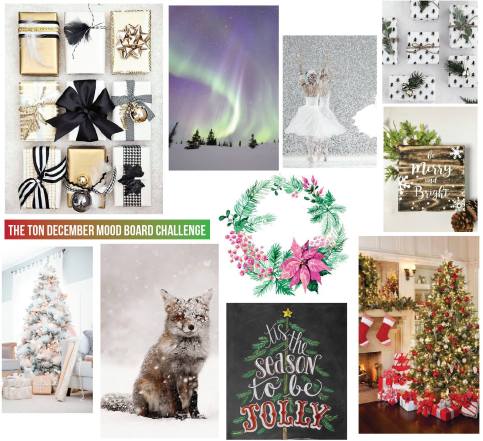
The Ton’s December Challenge is now live! You have through Dec 31st to stop by and enter your cards for a chance to win! One winner will get $50 gift certificate to The Ton’s Shop!* *Gift certificates only apply to The Ton stamps, dies, ink, gilding and embossing powder.
Thank you for stopping by and I hope you enjoyed today’s cards! Happy Crafting!
hugs,


Loving these colors
LikeLiked by 1 person
Thank you so much Jean! ❤️
LikeLike
Amazing color combo!
LikeLiked by 1 person
Thank you so much Tara! ❤️
LikeLike
LOVING the turquoise Jenny! your coloring with gray is fabulous too!
LikeLike
Thank you so much Laura Jane! ❤️
LikeLike
wow! tfs!
LikeLiked by 1 person
Thank you so much! ❤️
LikeLike
This palette is gorgeous, love how you colored the die cuts. Beautiful cards
LikeLiked by 1 person
Thank you so much! ❤️
LikeLike
These cards are absolutely magnificent !
[margessw(at)icloud(dot)com]
LikeLiked by 1 person